While visiting my sister, Theresa, in Texas just before Thanksgiving, I prepared art for 12 paintings, each 10 x 10 inches, sketching them on Crescent watercolor board. I chose this size because I’d found a source for the gallery frames. They came with plexiglass, which I’m just tossing and will use acrylic mediums to protect the art.

2 Iris, 2 Zinnia, 2 Trillium, 2 Rhododendron, 2 Peony, and 2 Lily — to make an even dozen.

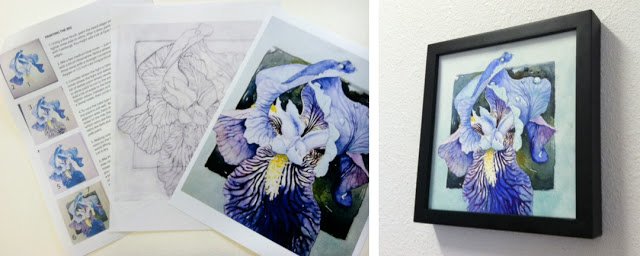
I decided to record my process as I painted the first two, and make step-by-step lesson plans from the notes and photographs. Theresa was thinking about a large Iris painting for her house, so I started with the Iris.

Here is a finished painting…

And the second one, which is the one I’ll be working with…


       The step-by-step lesson plan…                                                                      Framed art……….

The IRIS photo was then a useful tool, using Photoshop and another photo of my sister’s wall to create a virtual image of what the painting would look like, true to size, if it were painted 50 x 40 inches. The “small” painting in the before photo is actually a full sized sheet of watercolor paper.

Notice the changes in the after photo from the iris painting above… dark background and vertical crop. When light/dark values are determined during preliminary work, it’s much more likely that a painting will be successful. Considering the painting time invested with a large piece, both thumbnail sketches and small study paintings are well worth the effort.

        BEFORE                                                                             AFTER

I’m pulling art out of drawers and sorting. In taking another look, I often see room for improvement. It’s so easy to get the brushes wet and rework them. The results are usually worth the effort.

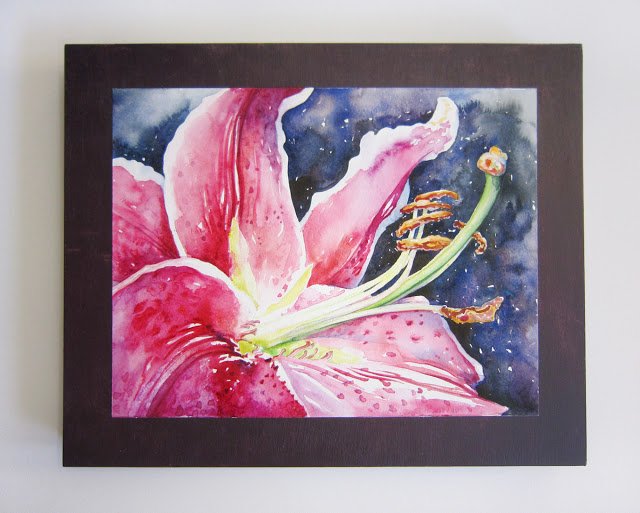
Having a good supply of wood cradled panels, I’ve been playing around with displaying some of my art on them. First I started painting the panels with acrylics to match the art. Here’s an example of a dark burgundy frame with a lily, painted watercolor on paper before attaching to the cradle.

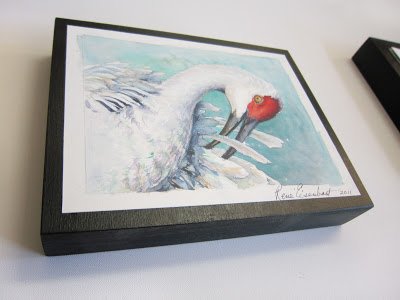
Soon I realized that for a cohesive look, painting all the cradles black is the way to go. Here is an example of that, using paintings of birds. Notice the art does not reach to the
edges. Instead, I’ve left a mat-like perimeter of the front face showing.
It is a good look for displaying several pieces closely
together. This treatment is great for hanging a show.


This Preening Crane I originally painted vertically for the John Scharff Migratory Bird festival, 11 x 17 inches. Then I painted it again, cropped, on Aquabord, 24 x 24 inches. This version is smaller, and horizontal. It’s fun to see how a good composition can sometimes work well more than one way. While each has it’s own character, I am pleased with all three formats. On this one I’ve left a mat-like edge of white paper, along with the black face of the cradle.


This sweet bunny is painted by Lorraine
Bushek, a Portland artist who is also a good friend. It is oil on Gessobord, then attached to a
wood panel to frame it. You can see why Lorraine’s work is in such high demand. I traded this piece for one of mine — Bleeding Hearts.