14 of us spent 12 days at a retreat center in Kauai last February.
It was a remarkable time! This will give you a flavor of the trip…

We toured botanical gardens, visited art galleries, walked on the beach, cooked amazing meals and took scads of pictures.

AT THE BEACH

See, it didn’t rain the whole time… that’s Harriet with a sea treasure and Melody and Verna getting their feet wet at Hanalei, where Puff The Magic Dragon lives!

FARMERS MARKETS
For both food and entertainment. We ate, we gawked, we took things home as reference material for painting! That’s Sharon, holding a large citrusy thing and breadfruit — perhaps more lovely to look at than to eat?

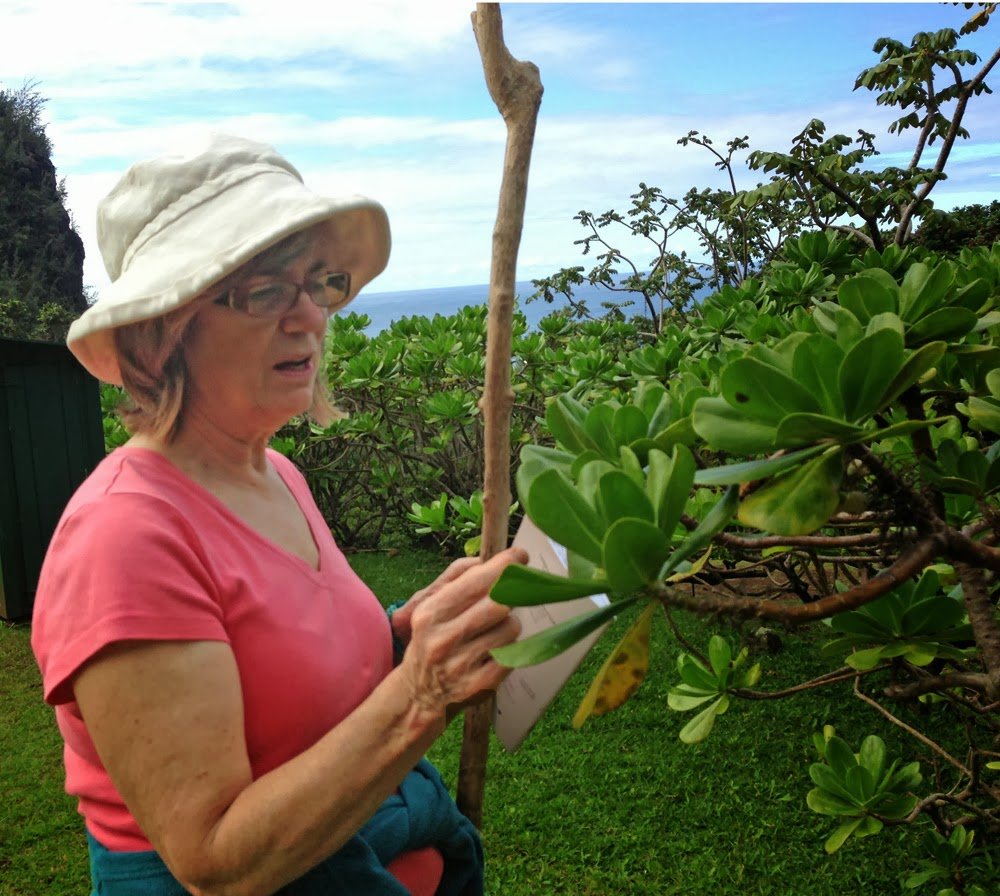
LIMAHULI BOTANICAL GARDEN
Specializes in native plants — and also labels the non-native invaders. The views from above were lovely! Here’s Peggy, referring to the handy plant guide.

SHRINE WALK
Fascinating cultural landmark cut into a hillside —plus home to hundreds of orchids! I took hundreds of photos.

BIRTHING CAVE
OK, that’s a myth, the Makauwahi Cave Reserve is just a sink hole, but it’s fascinating. We were lucky enough to be led on a tour by David Burney, who wrote a book about it, and could give us the real significance.

BOTANICAL CLASS
Janet connected us with an invitation to visit Wendy Hollender’s class at the National Tropical Botanical Garden’s Research Facility. She works in colored pencil to render fabulous botanicals. One of her students, hard at work on the left, and me at the garden’s visitor center.

WE TAUGHT AND PAINTED
Here I’m using water soluble graphite on a pineapple drawing. I found out that water soluble pencils without wood actually become soft when left out in wet weather! When it rained for several days solid, we brought our work indoors and kept on painting.
DANCING HULA
In a spirit of collaboration, we invited everyone to share their skills. Peggy taught us us how to dance Hula! Since I was dancing I don’t have a photo, but it was a great form of exercise. I do have this shot of dancers in Kapaa.

ROOSTER DEMO
Pouring a colorful wash for an under layer on my rooster painting. I’m using 300 pound arches paper treated with acrylic medium. And the finished painting…

NEGATIVE PAINTING DEMO
Linda shows how she does it on this hibiscus blossom, started as a poured wash. It was so much fun tag teaming with Linda, as we could move back and forth, teaching different concepts. She also led us in stamping, which was so successful it merits it’s own blog post!

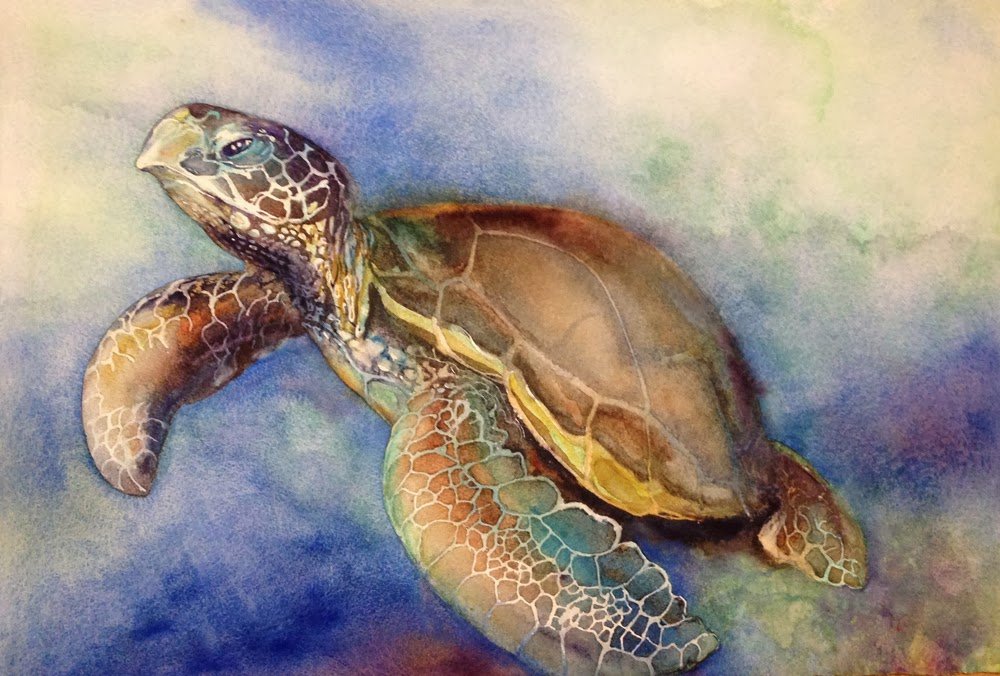
SOME OF US SWAM WITH SEA TURTLES!
This painting is still unfinished, but I like what’s happening so far. While I rarely do, I used resist to make the light lines, using a plastic bottle with a wire stem as an applicator.

ZENTANGLE
Sharon introduced us to the ways of the formal doodle. Notice the breadfruit pattern on the right? It was fun to see the variety of drawings that resulted.
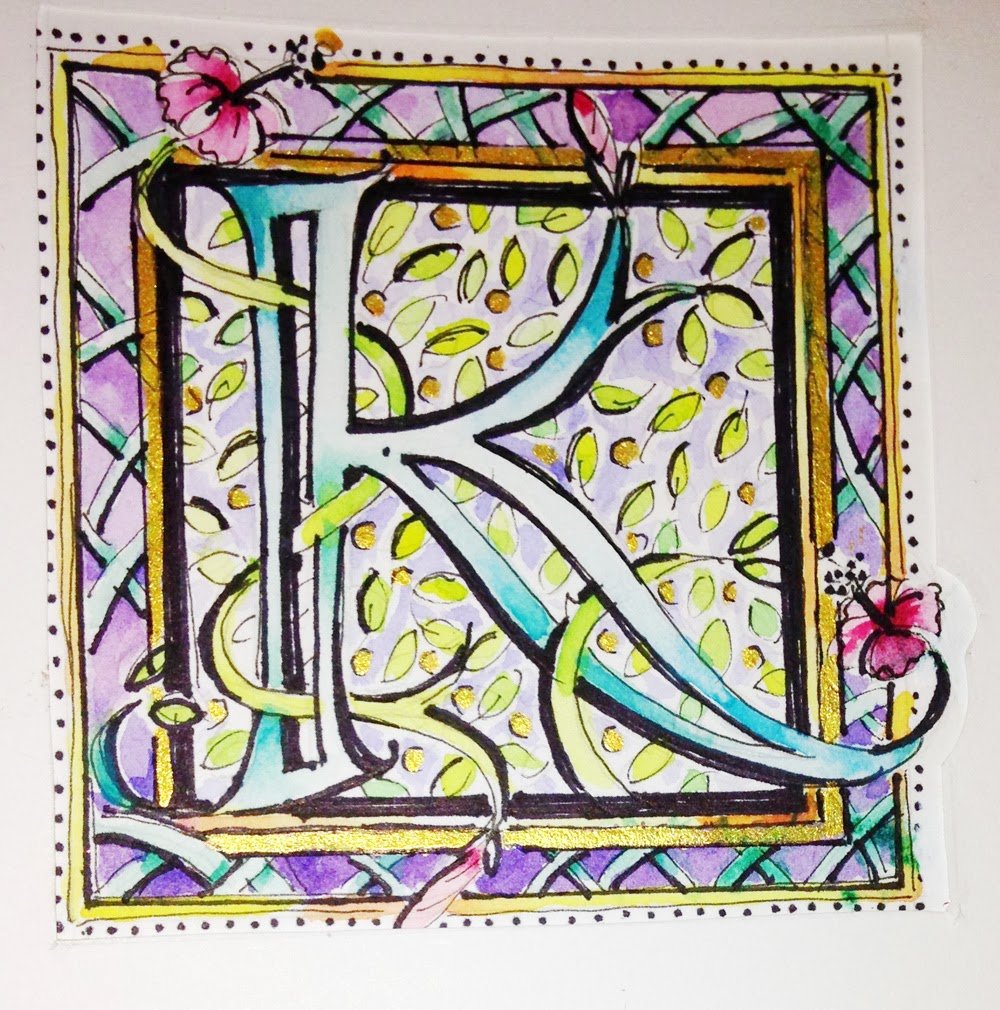
ILLUMINATED LETTERS
Laura prepared a step-by-step to show how she makes them.

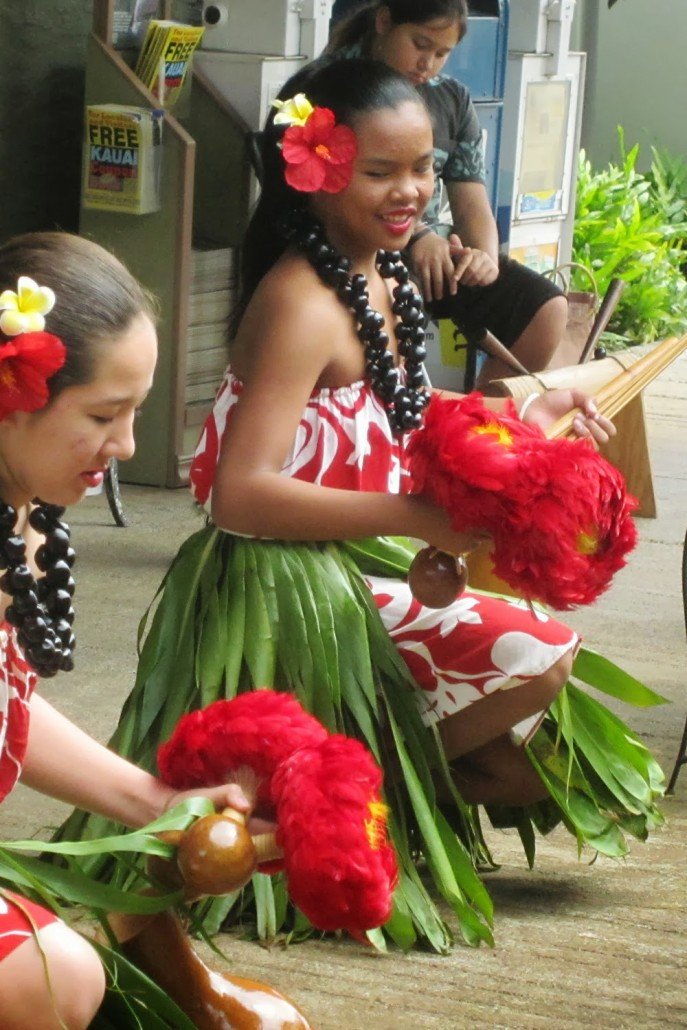
GALLERY HOPPING AT HANAPEPE
A photo op — 5 of us with the cigar lady at the spice shop!


Last week I taught the drawing portion of my 5-week class. Many students are just beginning to draw.

Here are visuals to to help you learn the process…

BASICS:

The first decision is where to place the drawing on your page. Lightly draw a very basic shape, or outline, on your page and you won’t just be leaving the placement up to chance. For the daisy below, I drew two ovals, one defining the outside shape and one defining the flower center. Notice that outside oval is merely a guide, and many of the petals fall short of the perimeter while some might reach outside. The center oval is actually placed above true center, which allows the petals closest to the viewer to be longer.

FIND THE SKELETON:

Plants tend to be organized in patterns, and when you can make sense of the pattern you can draw them. Generally, a good place to start is with the structure — that which connects or holds up the subject. Look for specifics — for where leaves connect to stems, numbers of petals, jagged or smooth edges, petals arranged in a circle, curves or cupped forms.
Look for what is “the rule” and also for exceptions to it.

SET YOUR DIRECTION:

First I drew the axis line. That line determines the curve of the tropical plant in the top drawing or the echinacea in the lower drawings. For the echinacea, the axis line became one side of the stem. Then I drew in the circle for the cone. Curved, spiral lines going both directions across the cone cover the upper part of the axis line. The petals are also drawn over what is already there. Notice with the tropical that while I drew the box first, I did not squeeze the drawing into it but instead allowed it to spill out over the box. It just worked out that way.

CONTROL vs. CREATIVITY:

Drawing quickly often allows for more expressiveness. These quickly made drawings are not intended to be “perfect”. I can always refine later — to make them either more expressive or more precise. Focusing on making a drawing too perfect can squeeze the life right out of it 🙂 Drawing is a dance between seeing the “big picture” and noticing the details. There’s no one right way to do it! If you’re working toward being more accurate, yes, that will take some thought. So pause long enough to know where you’re headed, then let go and trust your arm to get you there.

DIVIDE AND CONQUER:

For advanced drawing… more complex shapes simply take a bit longer to understand. Sometimes it’s just a matter of learning the curves and shapes at a particular angle of view. A 5-petaled flower still follows a logical pattern even when viewed from the side. Make sense of a complex shape by dividing it into sections. Some fern fronds will repeat the same patterns on a different scale as you follow up the stem!