This OSA event is an ideal way to take your painting to the next level. Try new techniques, play with some new surfaces and improve your design skills. Learn how to take a good reference photo.

Any level of experience is welcome. Bring your own subject, or use the lilies I will bring to learn from — both plants and photos.

More about the event HERE

Register online HERE

A composition study in my journal sketched with Lyra water soluble graphite.
It’s a good way to do a quick test to see how the values work.

And a painting, 10×10 inches, on Crescent WC board. Wouldn’t it be lovely to paint it huge?
I prefer the square format. Notice how I lightened the background value to keep the greatest contrast on the flower stamens.

Below, a photo I’ve used for reference several times with modification.
Not a totally lovely composition, but some delightful curves, and with a bit of reworking…

It might look like this…
I try to keep the qualities I like and change anything that does not please.
Notice I the simplified background and added bud.

And again below…
This time on Aquabord.
The fun thing about white flowers is making the shadows any color you want them to be!

We’ll study all this and more at the workshop.
Prepare to be inspired and energized!

For years people have asked me to make cards of my work, and finally I have!
Very soon
you will find some of them for sale
at Oblation,
an amazing paper store
on NW12th, just past Glisan,
 around the corner from
Dick Blick

Here they are… 14 different designs.

The card back includes my information and the name of the painting…
…………… 
The front face is the art, alone…
the card inside is blank

Below, a Demo piece from Monday’s Watercolor Immersion…

WHAT PARTICIPANTS ARE SAYING

This has been a fabulous, life changing two weeks in Tuscany — Great instruction, ideas, companions, food, activities, accommodations & setting. I could never have imagined anything more satisfying. You are one incredible lady. Your smile makes it all good!
Laura

Congratulations on your 1st travel workshop! It has been fabulous & I’m sure will blaze the trail for many more. Thank you so much for your kind, thoughtful and skillful instruction. I am so lucky to know you!
Marcia

Thank you for a wonderful and unique experience. Every day was filled with special people and moments. It has been a fantastic trip in every way because of the hard work and planning you did. Thank you.
Susan

All of the careful, detailed preparation made for a stellar experience. This trip is beyond compare and I’m ever grateful for your invitation. You’ve been of constant service to us, always with a laugh and an encouraging word. Grazie mille, amore!
Sharon

I’m so delighted you called me and invited me to join this lovely band of ladies. This adventure has been just remarkable — so much fun, so many chances to learn new things.
Melinda

You are simply and truly a lovely individual AND a wonderful teacher. I feel so fortunate to have been on the “maiden voyage” of your classes abroad, and I hope to be part of this again. Thank you so much for your patience and encouragement!
Donna

This workshop in Italy has been
delightful.  Thank you for your helpful demonstrations, thoughtful
feedback and careful planning of our wonderful excursions.  My
experiences with you and the group have been life changing.

A month in Tuscany, traveling with artists, was wonderful for me — almost beyond belief!
It all started as a reunion trip for my critique group last May. Then Linda Nye and
Carol Winchester stayed to help me put on a 12-day workshop. Seven artists joined us.

We stayed in a villa outside Lucca, making forays to nearby villages and cities, where we reveled in the scenery, delicious food, local culture and shopping.

And, of course, taking pictures and painting…
The place we stayed was ideally suited for artists — two villas named Mimosa and Melograno — beautifully furnished for comfort and filled with artwork & antiques. Large tables, both indoors and out, were perfect for painting!

Views from the house and yard were stunning! Roses on the back patio and ringing the pool were heavenly scented. Maurizia the owner and retired art history teacher, was wonderfully gracious.

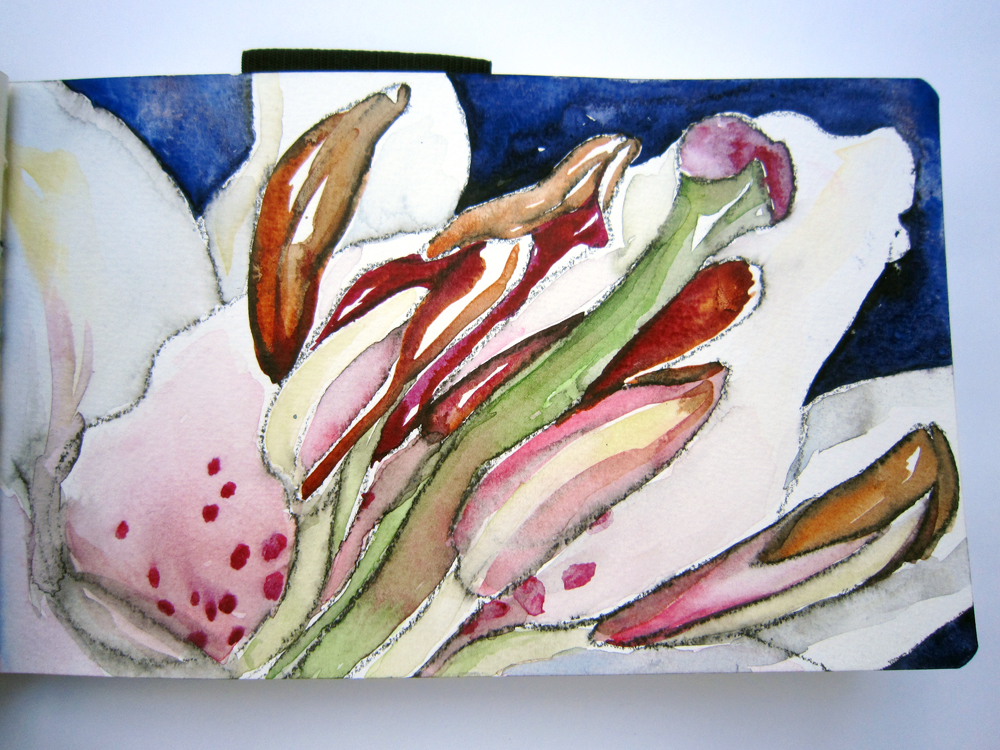
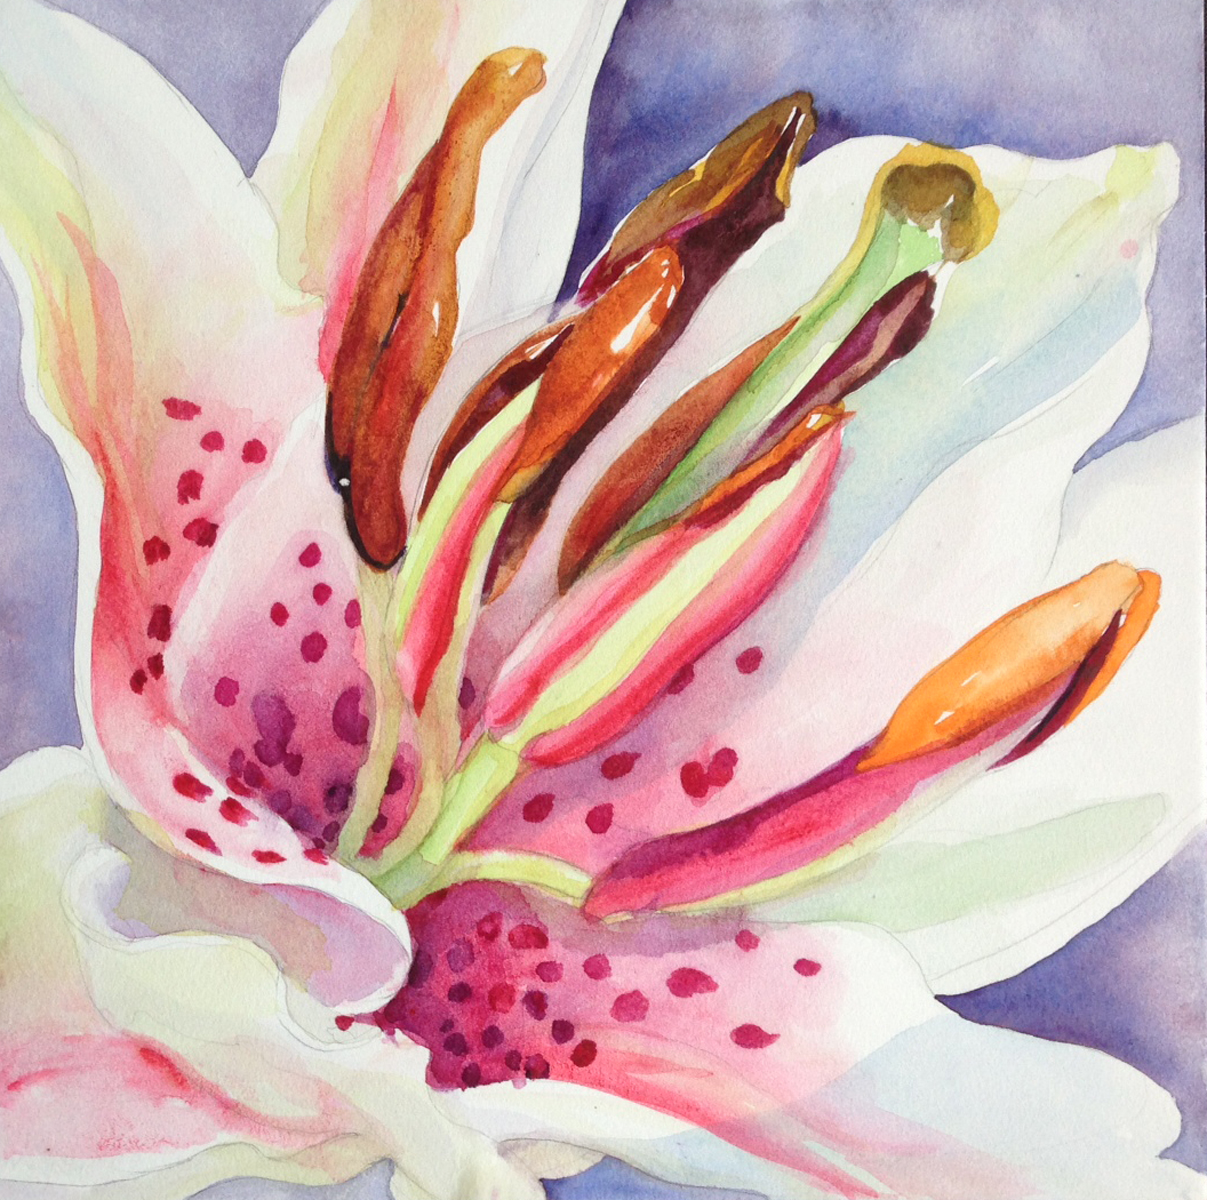
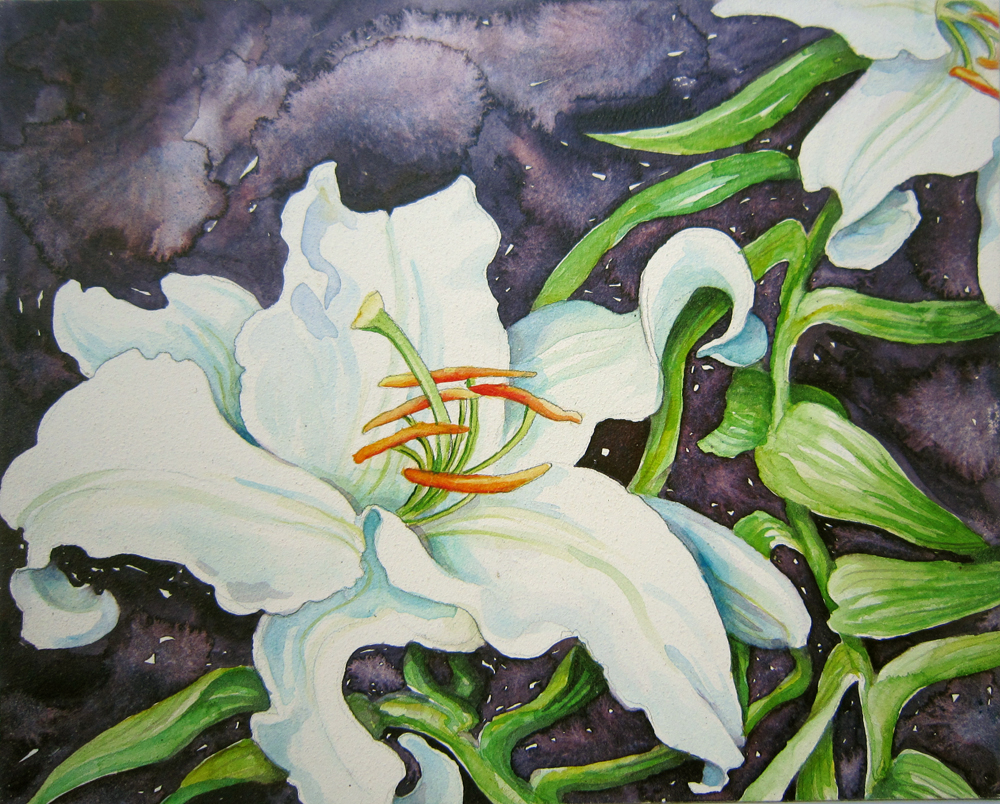
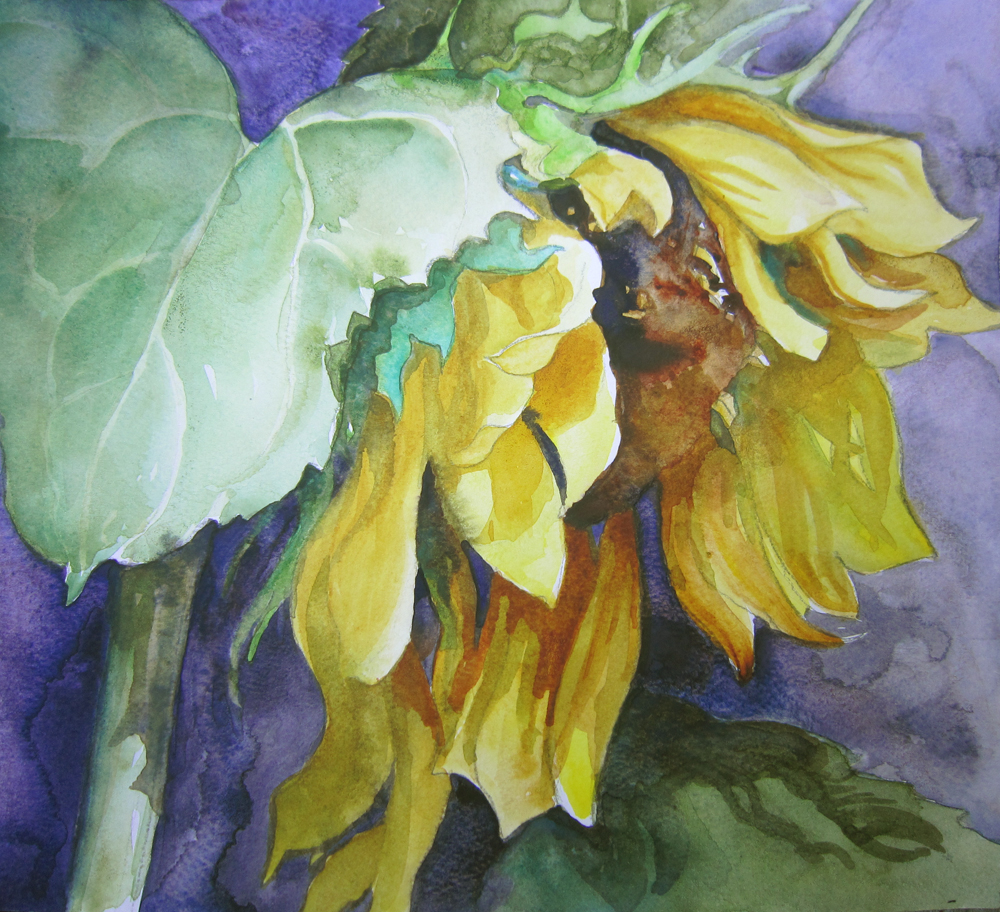
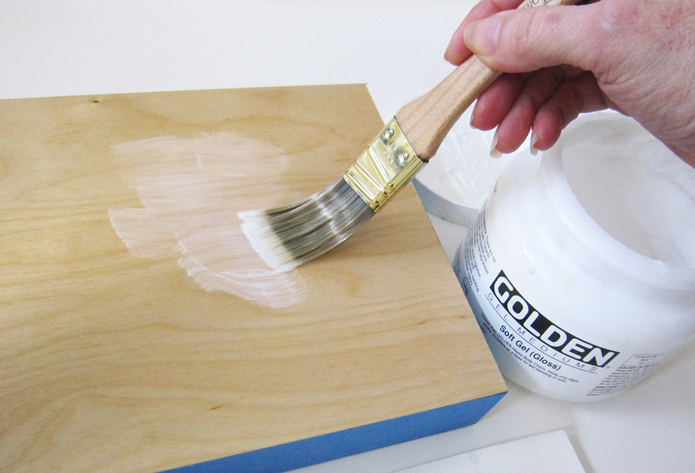
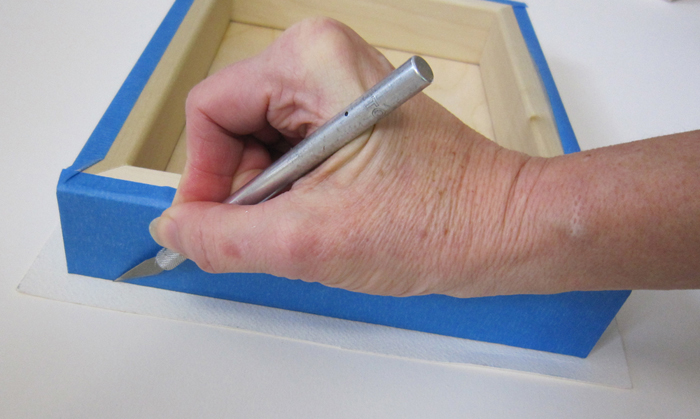
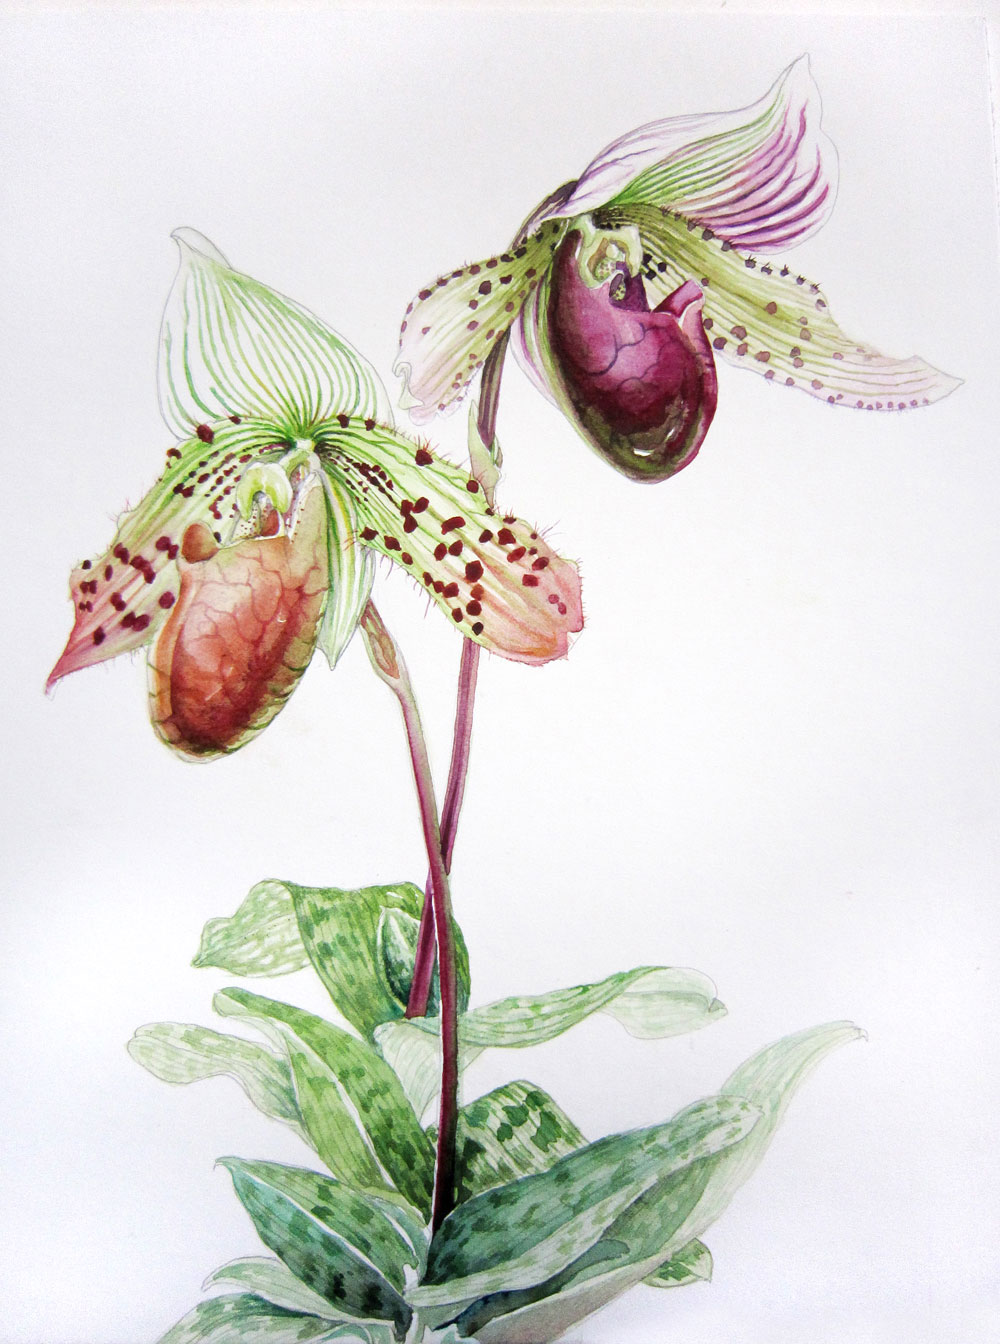
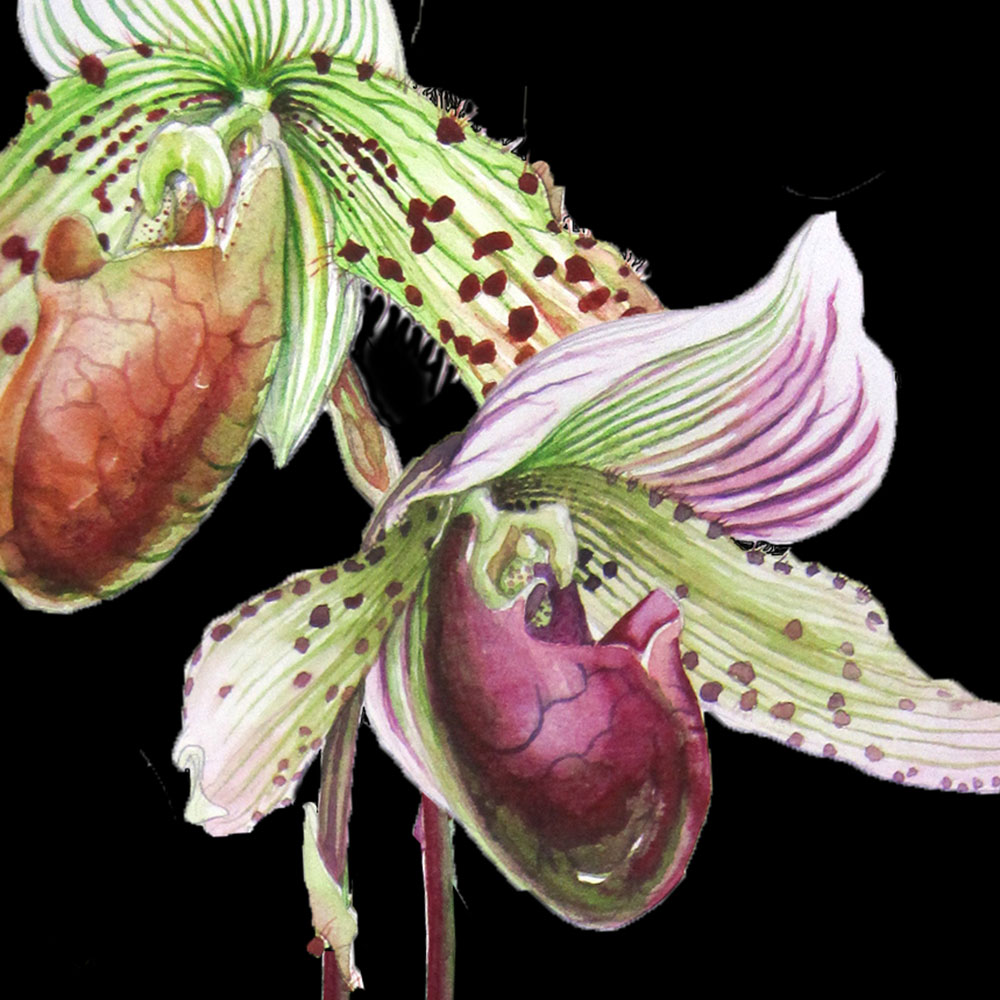
Tuscan flowers were everywhere, and I recorded them in my accordion journal.
It’s one I made to show how it’s done in my journaling workshop — ideal for traveling or recording memories. Click the link to find dates or to register.

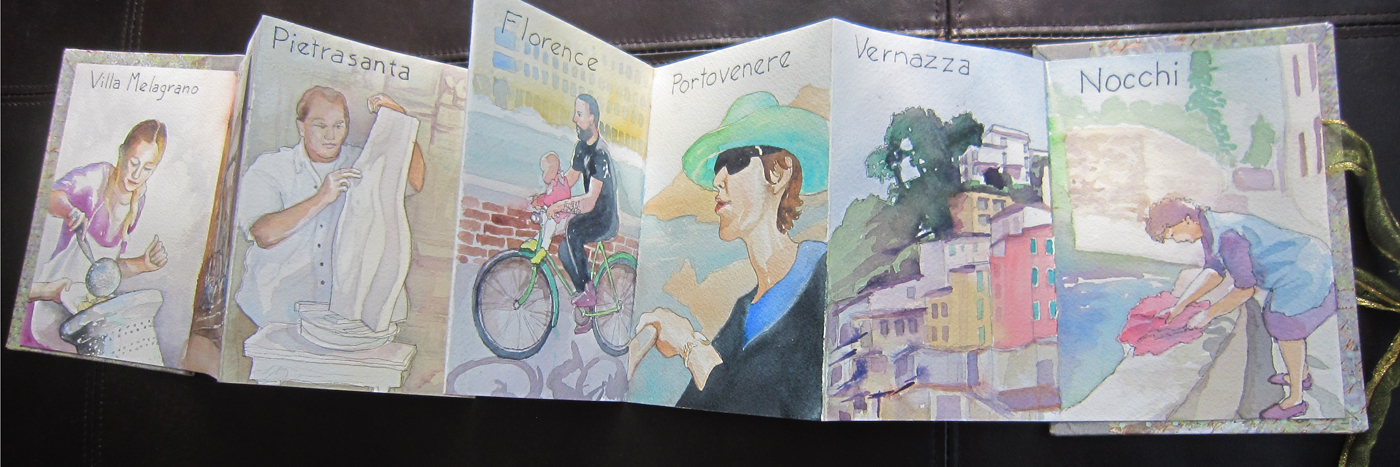
On the other side, scenes from the places we visited…

Here’s
Linda at Portovenere.

Our villa was located just past the edge of town. Surrounded with olive groves and farms, it was quiet except for the singing of birds and chiming of bells at Segromigno in Monte, the beautiful church nearby. A network of paths led us throughout the countryside. The cafe where some took their morning coffee was a short walk.

We cooked amazing meals in our kitchen, making use of local ingredients — prosciutto with tuscan bread, olives, pecorino romano, fresh olive oil and basalmic vinegar. We dined al fresco on warm evenings. A fireplace in the central dining area kept away the chill on rainy nights.

A close friend, Mary Lee Damutz, took us on a tour of her village, nestled into the hills between Lucca and the coast. Residents still sometimes wash their clothes in the millrace, the stream that until recently powered the mill.

Then we went on to Camiorie for authentic wood fired pizza, and to Pietra Santa, where local artisans carve marble.

Mary Lee and her daughter Marina prepared a wonderful meal for us, and taught us where to get the best food. Here’s Marina making homemade pasta.

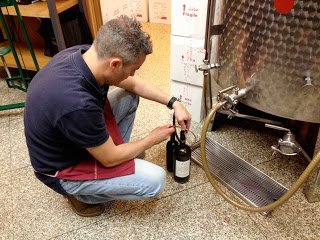
For wine, we just took our empty bottles in to refill — amazing wine for just a few euros!

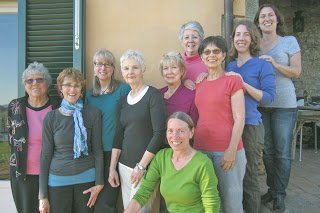
Perhaps best of all is forming lifelong friendships. These artists have decided to start their own critique group, calling
themselves the Melogranos. And they made me an honorary member!

This is the short version of our adventure…
If you’d like to hear more stories or see pictures, come to Oregon Society of Artists on November 7th.
6pm
2185 SW Park Place
Portland OR

Coating with acrylic is an experimental process.  Be sure to test your results with art that is not precious (using comparable paper or board and paint) before risking your best work.

Photograph your work before you top coat to get the best image. It’s harder to get a good photograph through the acrylic layers.

Allow artwork to completely dry before adding acrylic as moisture trapped within will not escape and could bubble or remain opaque.  Allow each under layer to dry before adding more acrylic.

Create a dust-free, no-pet zone for working with acrylic. Covering your work surface with plastic will help keep both art and surface clean.

Apply gels with an inexpensive synthetic paint brush or an old credit card. Do not use good watercolor brushes (it will ruin them) or crumbly foam brushes to apply.

Acrylic mediums clean up with water and a little gentle soap. Keep a jar of water to dip your brush in or wrap the brush in plastic if you cannot clean it right away. Keep lids on mediums sealed when not in use Removing excess gunk from lids will make them open easier.

Always spray the MSA archival varnish outdoors. Using a mask & goggles will protect your lungs and eyes. It is also available in liquid form for airbrush application, diluting with mineral spirits. In this form it is less expensive and creates fewer particulates in the air to breathe.

Make sure your signature is in permanent ink or has been varnished. Spray several layers of varnish to seal your paint well and it will not lift when brushing on the Top Coat. Because paper is porous, it might take up to seven coats — especially with thick or dark pigments. Varnishing before mounting will help protect the art during the mounting process.

Be aware of stretching and shrinkage of paper when mounting with acrylic. If the paper has not fully relaxed before applying, it can bubble against a rigid surface. On the other hand, when fully stretched, a great deal of surface tension is created as it dries, which in a larger piece can buckle a backing that is not entirely rigid.

While mounting, make sure you have art lined up straight with the backng. Tack in position with tape. Use weight — old garden encyclopedias work — to hold paper securely to the panel as it dries.

Use sheets of acrylic or wax paper to keep art from sticking to other surfaces such as books used for weight.

Check for buckling before the acrylic dries completely and you may still be able to smooth surface wrinkles. Cover with a protective acrylic sheet and rub with your hands, lift and replace a corner if necessary.

Always reserve your matting agent for the last coat. While it’s OK to build up several layers of gloss, multiple layers of matt or semi-gloss will begin to obscure the art with a frosted look. A final layer of semi-gloss on the top is enough to knock back unwanted shine.

Also see the posts WATERCOLOR ON CRADLED PANEL

and ACRYLIC FINISHES FOR WATERCOLOR

© René Eisenbart / www.rene-art.com

A Cradled Birch Panel by American Easel is contemporary and gallery appropriate for a watercolor painting when finished with acrylic

Clicking on any red text below will take you to related blog posts:

Attach blank watercolor paper or finished painting —­ either will work.

Be sure to check the tips & tricks and the materials list on my Blog…

Step 1
PROTECT THE ART
Seal your finished watercolor thoroughly with up to seven coats of Golden Archival Varnish with UVLS (gloss). Let this dry completely.

Step 2
PROTECT YOUR CRADLE
If you’re planning a clear finish, cover the wood edges with 2-inch blue painters tape. This can be left on safely for several weeks.

 Step 3
SEAL THE WOOD SURFACE
Apply two thin coats of Golden GAC 100. This is necessary to prevent acids in wood from yellowing the paper over time. Dry several hours.

Step 4
ADHERE ARTWORK
Cut your paper a bit larger than the Panel to overlap on all sides. Coat both the back side of the paper and the wood surface with Golden Soft Gel (gloss). Allowing time for the paper to stretch and relax. Use enough gel to form a good bond, but void using excess that would pool in a bump or squeeze out. Position the art (or blank paper) accurately. This is easy if the painted area is larger than the panel. Press paper to cradle. Cover with a sheet of plastic to protect art, then press outward to remove air bubbles. Wipe off any excess gel around edges. Check position. Top with several heavy books. Check to be sure the surface is flat before it dries completely.

Step 5
TRIM PAPER EDGES
Place the art face down over a cutting surface. Use an X-acto knife to trim paper along edges of Cradled Panel. This is easiest with thinner weight paper — take care to cut heavier paper straight. Sand with extra fine sandpaper and a small wood block to even surface irregularities.

Step 6
APPLY TOP COAT
Use Golden Top Coat with UVLS (semi-gloss) to protect your art completely. You might thin the medium with a little water to make an even, flat coat that will not become gummy while applying (especailly helpful on larger panels). Brush side to side. If you’ve applied adequate varnish (step 1), the paint will not lift or rum. If your paint does run, you can try wiping away the top coat, then reapply after it’s dry. Wipe any extra material from the edges. Let dry. Applying a second coat, brushing up and down, will create canvas-like texture.

Step 7
FINISHING TOUCHES
Remove the blue tape. Sand lightly. Stain or paint Panel edges with acrylic paint, or keep the natural look and finish the wood with a polyurethane varnish, taking care to mask off the art surface with tape. Add a couple of “D” rings and framing wire, and VOILA! It’s ready to hang.

© René Eisenbart / www.rene-art.com

This was supposed to auto-post last March…
                        but it didn’t!

I was over at the Home & Garden show, February 20 through 24, at the Expo Center, painting much of the time. Thanks to all who stopped by!

There were new paintings this year, including Theresa’s Orchids on white, below.

Last year at the show I traded art for Orchid plants, and then painted them 11×14. Here’s the sketch as I was starting to paint last winter, leaves and one stem painted… along with the reference blossoms.

This year some of them are re-blooming! So now I re-sketched my painted orchids to create a different pattern, then using Photoshop, mirrored that design in the computer, adding a black background.

I’m painting them on a cradled cradled panel made by American Easel that’s 40×40 inches! Above is the digital image I’m working from. The work, below, is in progress…

……………………………
And here I’m working on that same piece at the show… this gives you a feel for the size of the painting.


I’m often asked about the acrylic mediums I use to finish watercolor paintings.
Here are the products I use.

WOOD CRADLED PANELS
American Easel in Salem Oregon makes a wonderful birch cradled panel that is reasonably priced. Most art stores carry them. Or order special sizes, 6 at a time, direct from the factory.
They come in deep — 1 5/8 inch
or extra deep — 2 1/2 inch

This orchid painting is on a panel 40 x 50 inches


GOLDEN ACRYLIC MEDIUMS
Golden makes top quality, archival products and has a great technical support staff. I trust Golden over other brands for protecting my art. Available at most art stores — order the larger sizes up to a gallon.

  Archival Varnish MSA with UVLS: An aerosol spray used as a fixative for
coating Aquabord or to use on watercolor, to keep paint from lifting
when applying wet acrylic mediums. Use several coats of gloss. If you’re
not using top coat you might add a final coat of satin if it’s too
shiny.

GAC 100: Use two coats to seal wood panel, preventing acids from leaching into paper and turning it yellow over time.

Soft Gel (gloss): Use as a glue to adhere paper to panel.

Top Coat with UVLS (semi-gloss): Apply over well varnished painting to protect surface without using glass. I brush on two coats, one horizontal and one vertical. Can be thinned with water if needed. Brushes on white, dries clear!

DORLAND’S WAX
This medium is an alternative to the acrylics above. Used as a protective finish, it can be applied without using any varnish, as it isn’t water based and will not lift paint.

OTHER SUPPLIES NEEDED
Brush from paint supply store – usually 1 to 2 inch
Blue painters tape
X-acto knife
sheets of plastic, cardboard or wax paper