FINDING INSPIRATION
WSO BREAKOUT SESSION
SPRING 2021
NEW: FINISHED PAINTINGS ADDDED BELOW!
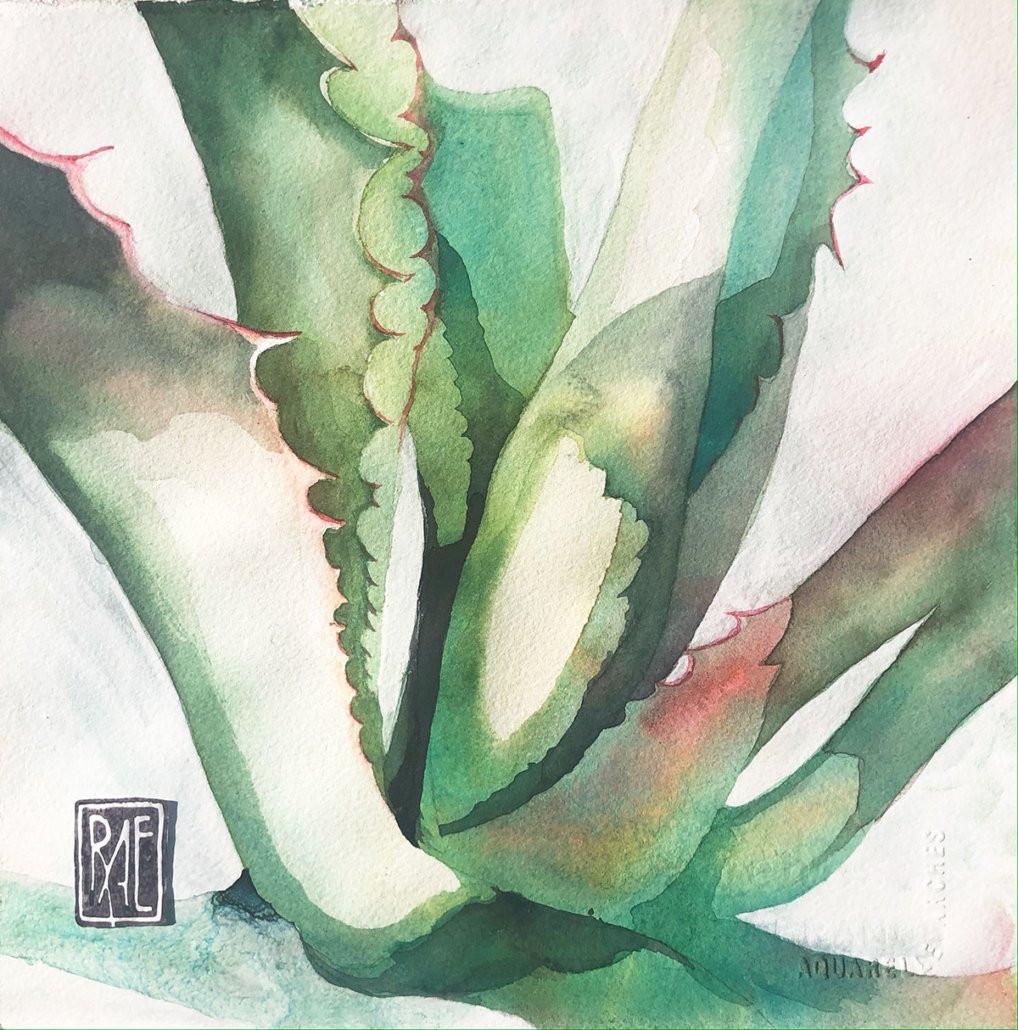
WHITE GESSO AGAVE
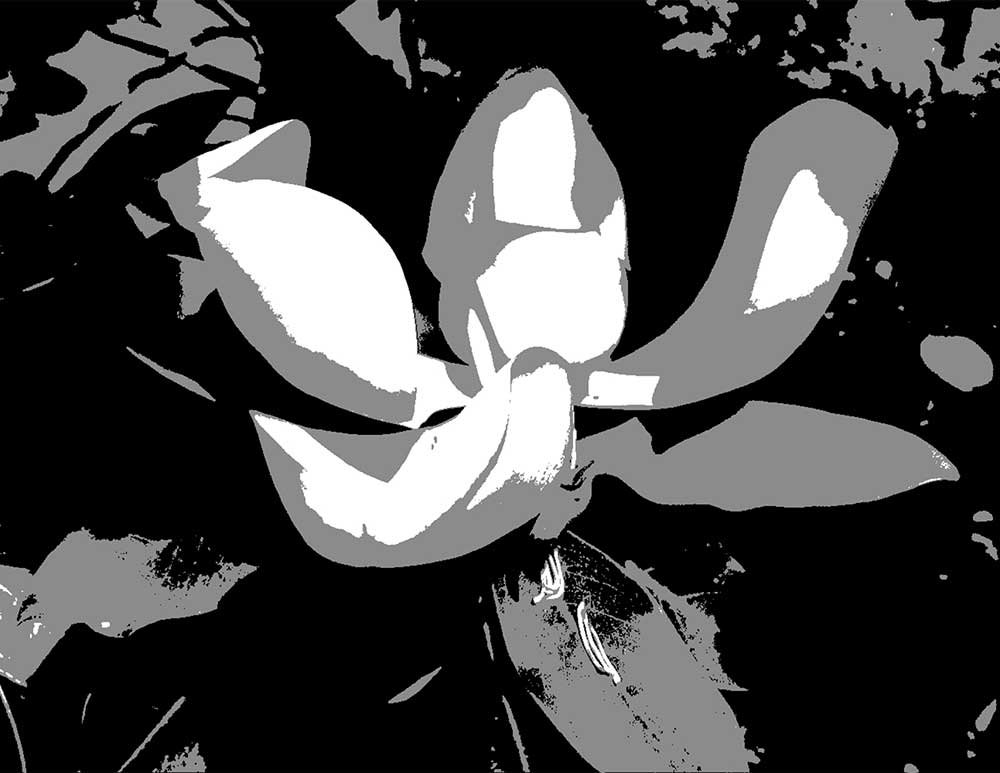
Notice my painting is simplified from the photograph and notanizer image below.
BLACK AGAVE
While the same image as the first one, this similar variation has a unique feel, because I used a different process.
KAUAI ROOSTER stage 1
I started this painting when teaching a workshop in Kauai. It is painted on 300# treated paper, and while I liked it I felt it could be improved.
KAUAI ROOSTER stage 2
So I marbled over it! And that process lightened the paint a bit (even though I’d sprayed it with acrylic) but it also added a lot of interest.
KAUAI ROOSTER stage 3
But I wanted to create more extravagance, and to do that I added white watercolor ground where some of the tail feathers would go, expanding them from the original.
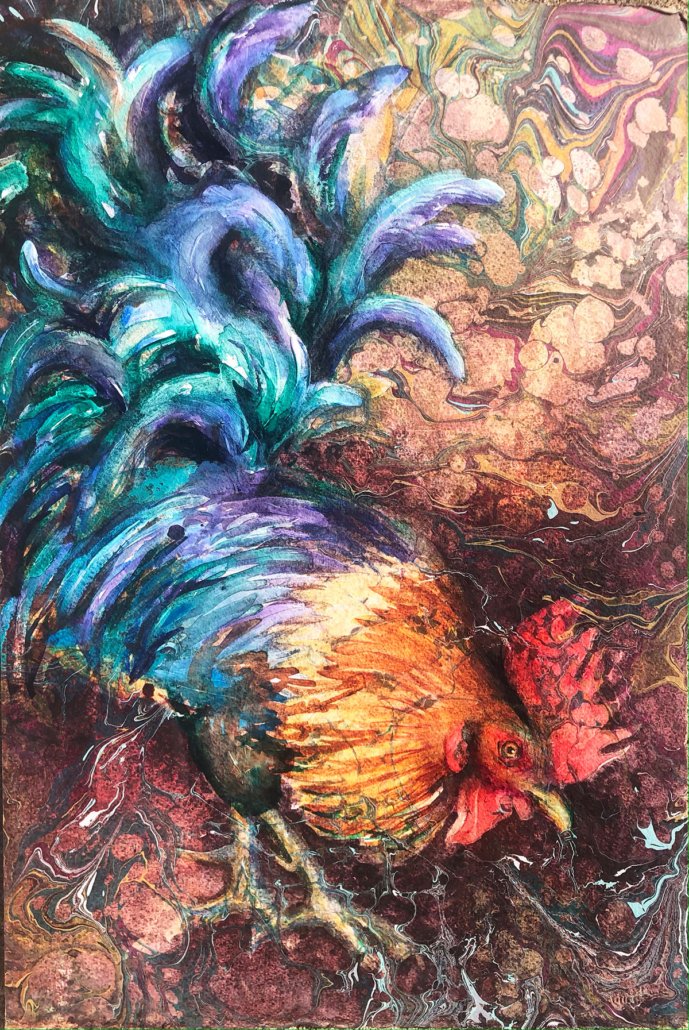
KAUAI ROOSTER FINISHED
You’ll see me start painting in the more flamboyant tail feathers on the video, using a rislon and squirrel dagger brush. Then I’ve added more paint off camera. Here’s the finished painting. Sometimes it takes multiple steps — and some tenacity — to get a painting “just right”!
DOWNLOAD REFERENCE
Click to download compressed image files that you can print and use for visual reference for our exercises.
SUPPLY LIST
MATERIALS I USE are almost all listed at MERRI ARTIST here.
To get your 10% student discount, use code: INST16
YOU WILL WANT:
DRAWING PAPER — Large sketchbook or sketching pad or loose sheets on a board
LYRA graphite stick 9B
-or- 2 mm mechanical pencil with SOFT 4B lead such as THIS ONE
-or- other very SOFT and DARK and preferably THICK drawing pencil
KNEADED eraser
TRACING PAPER — (recommend Canson Pad for transparency)
LYRA WATER SOLUBLE GRAPHITE stick, 9B (very soft and dark)
WATERCOLOR PAPER — One (or more) sheet 22×30 arches cold press paper, 140pound or 300# — cut or torn into six 10×10 inch pieces, or have 6 pieces of your preferred size
or use a mix of surfaces – yupo, hot press, shizen, etc
REFERENCE — that breaks easily into simple value shapes. You can download and use my photos (above) for these exercises, or pick your own, maybe something you’ve already painted . . .
I recommend having more than one subject oriented reference, but feel free to take it to abstract or whatever pleases you.
PAINTING SUPPLIES —
Paints – I use M.Graham because they stay moist and have a strong pigment load
Brushes – Recommend soft squirrel brushes such as the Silver Black Velvet. Also a very stiff scrubber (Connoisseur taklon 1/8-inch). And a #10 Zen / Royal & Langnickel Z83SC. You can find all my favorites at Merri Artist
Palette – I like a gasketed PALETTE with a smallish footprint for travel, and also use larger palettes for looser work
Water pot
Cloth towels, cut small and/or paper towels
BIG BRUSH — 1 1/2 inch Princeton Angular wash 4050AFW or other large quality brush such as 2” Robert Simmons SkyFlow 278W
SQUEEZE BOTTLES — for paint pours – online HERE
ACRYLIC MEDIUMS — (I use Golden or NOVA COLOR brands, Nova prices are great, available online only)
Gel medium, (matte or gloss)
Matte Medium
White Gesso and/or Black or Gold Gesso
WATERCOLOR GROUND — an acrylic medium that is absorbent and can be used to cover any surface and then paint watercolor on it when dry. Think liquid paper! It is a great tool for fixing “mistakes” or creating special effects. Golden has had a product called Absorbent Ground, and now they market either the same thing or a similar product called QOR Watercolor Ground. They also have a Cold Press Ground that I’m guessing is more textural. Daniel Smith makes a white, clear and black watercolor ground. I haven’t used the clear or black.
OR… mix your own. I’ve used a variety of acrylic mediums to mix, roughly using 1/3 of each, and I’ve never had a batch I didn’t like! Try 1/3 nova gesso, 1/3 nova matte medium and 1/3 Golden Fiber paste. Or substitute 1/3 Nova Texture Paste for the Fiber paste. If you want more absorbency add a little fiber paste. Mixing your own is both fun and considerably less expensive than buying the name brand mixes, but you may end up with enough for several friends!
UTRECHT Professional Gesso / optional (great for texture — it’s thicker than others, available only from Utrecht or Dick Blick)
ACRYLIC BRUSH or two — 1-inch to 2-inch (not a foam brush, I use Simply Simmons because they’re affordable, especially the long bristled ones because they last longer)
TAPE — Blue painters tape and/or 3M 401+ or 233+ green automotive tape (not essential but my preferred tape)
PEEBEO masking fluid put into a FINELINER bottle (fine needle size).
SCISSORS OR T SQUARE — for trimming paper
SMALL SPRAY BOTTLE with water
OPTIONAL FOR TEXTURE
4-inch FOAM ROLLER, PLASTIC FOOD WRAP, SALT, maybe a few homemade stamps available… cut from fun foam or soft cut
Golden MSA ACRYLIC SPRAY VARNISH, with UVLS (or other comparable spray varnish) — you’ll eventually want this for fixing watercolor to combine with acrylic. Use gloss for under layers, satin if it is a top layer and you want to knock the gloss back. ONLY USE OUTDOORS!
IF YOU CAN… download the Notanizer APP on your iphone or tablet, it’s for MAC IOS and costs about $2.


