GETTING IT RIGHT
Here’s my process:
1. ORIGINAL DEMO
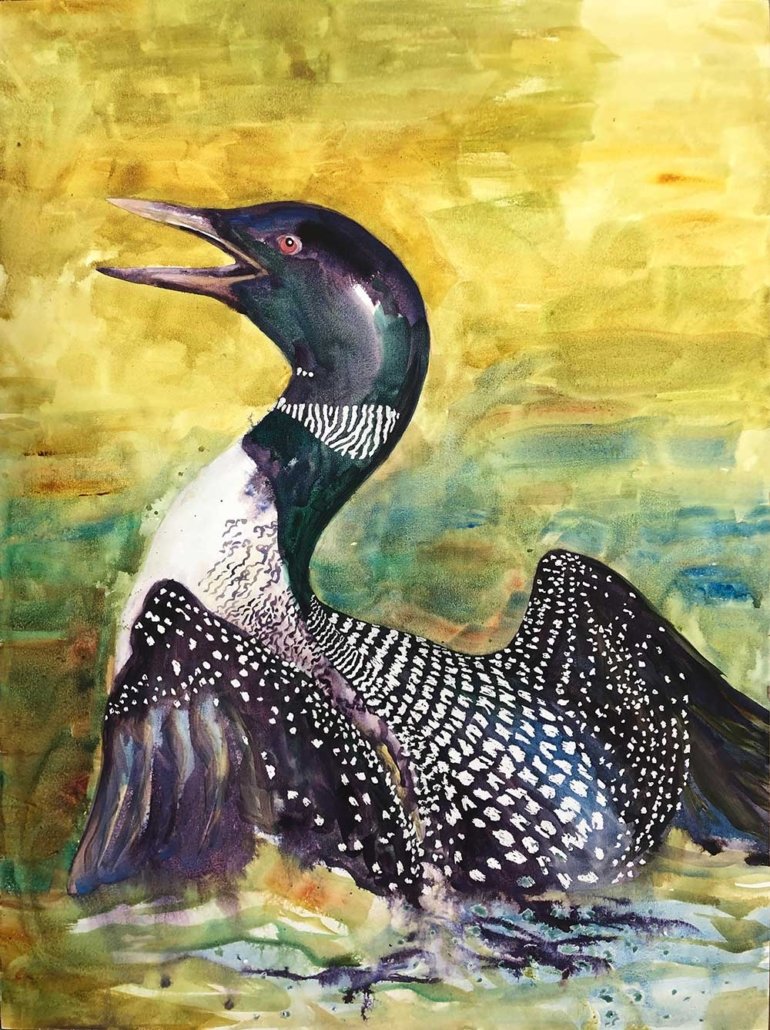
I painted this Loon as a demo, using transparent watercolor on an American Easel WaterMedia panel, at the fall WSO convention in 2019. It’s LARGE, at 30×40 inches.
Clearly the background is TOO bright.
So… I overpainted with a white ground for watercolor — essentially the same material American Easel sprays on their WaterMedia panels.
How many times does it take to paint a background? Until you get it right! This background was painted at least 5 times. You’ll see the progression here…
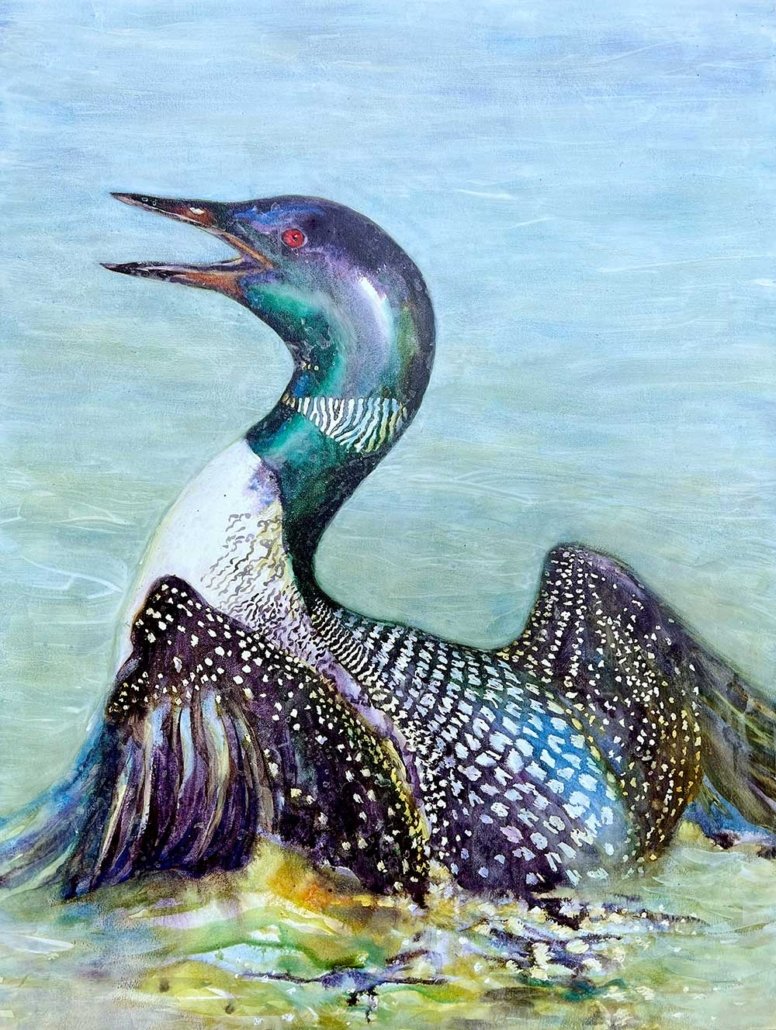
5. FINISHED LOON AFTER MARBLING
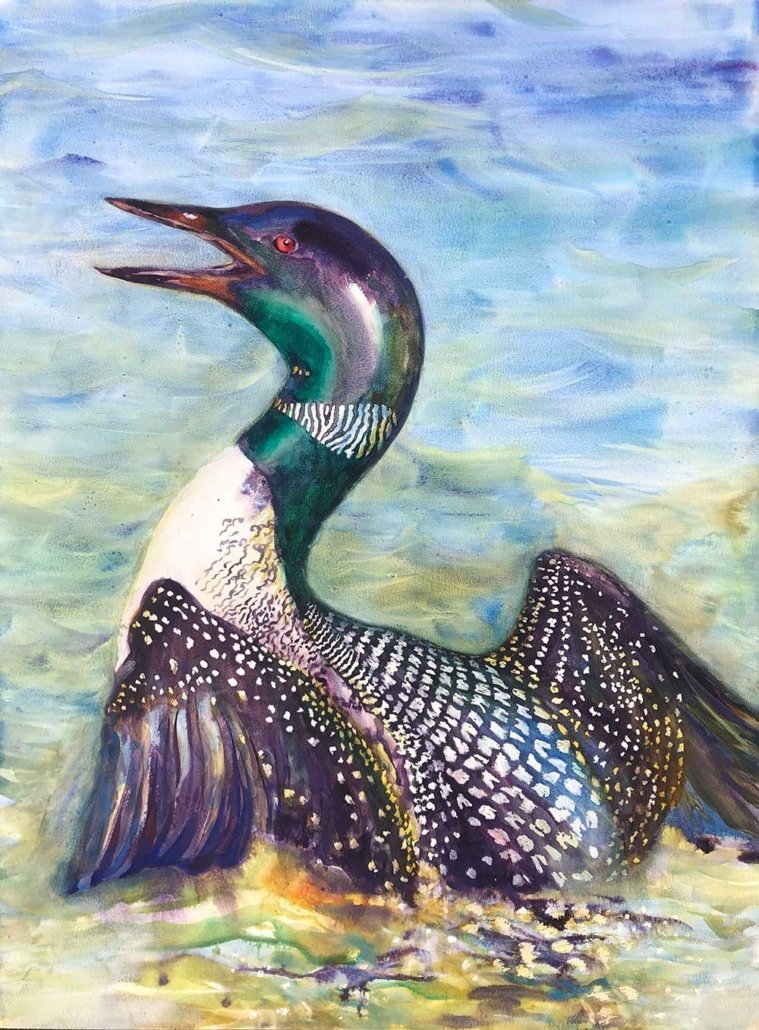
2. LOON / WHITE LAYER
That muted back the top, leaving the colorful glow in the lower water. I LOVE how some color bleeds through, still, it is TOO white for my liking, as I expected.
3. ADDING COLOR
Applying more paint is an improvement, but maybe still a bit much color?
4. 2ND GROUND LAYER
Next I added another layer of ground, again letting the color mingle with it. But notice how you SEE some of the horizontal “wave” texture the ground adds.
I’m liking this overall, but it seems too stark. I want to add a bit of mystique, and I know that marbling can do that.
MAKING AN OVERSIZED TRAY
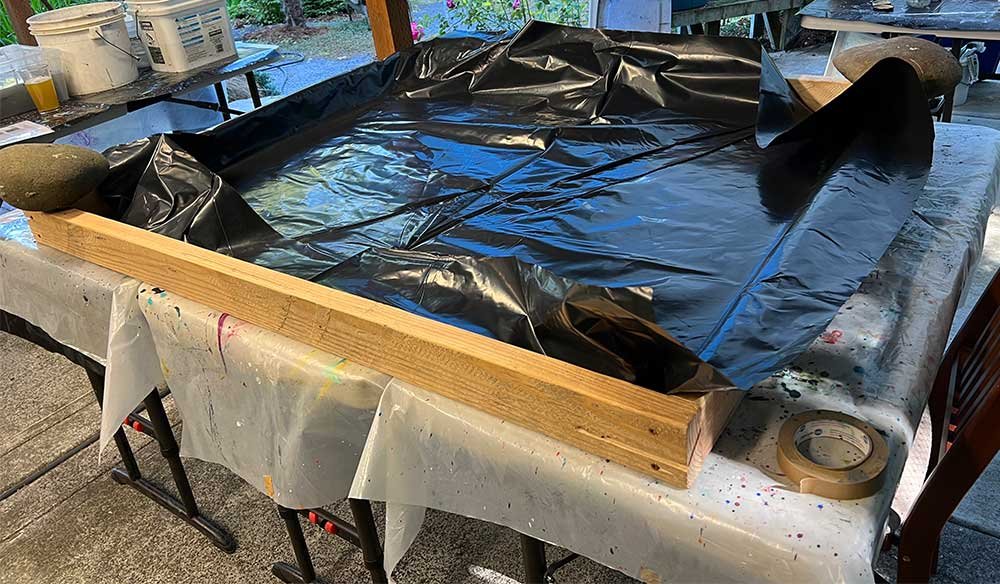
Now this piece was too large for my normal marbling trays, so I constructed one with 2×4 boards, placing a layer of thick plastic over the top.
Then after teaching last June, I poured all the leftover size into this form. It’s much harder to work on a BLACK surface. In hindsight, I could have made a WHITE bottom for the tray. But experience prevailed, and I just decided to move forward, working blind on black. I knew I wanted to use a light value marbled pattern though, and the white paint DOES show up on black.


