Another fabulous May in Tuscany!

Linda Nye and I had so much fun last year that we vowed to return — after all, there is NO POSSIBILITY you can see and do everything the first time you come to Italy! Returning is the only way. This year we brought two new groups of seven to paint, visit interesting places, take hundreds of pictures, walk in the hills and sample tuscan wines, olives, meats, cheeses and breads. Janet Parker, of Oregon Botanical Artists fame, joined us for the month to help with logistics.

So much to tell

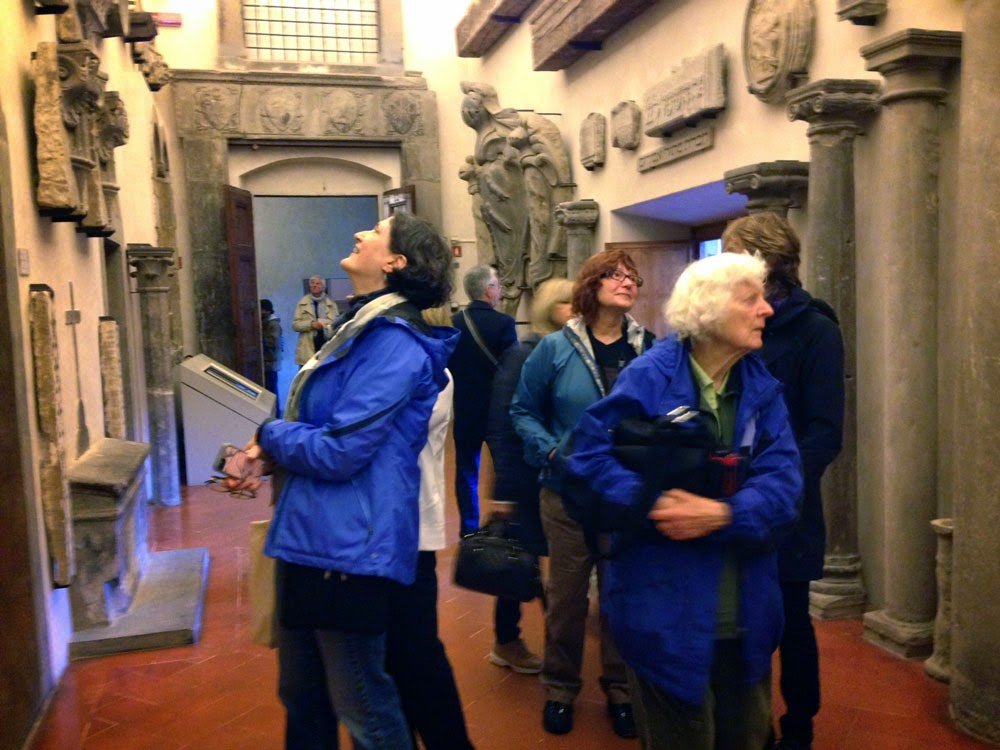
Mary Lee took seven of us into Florence
for a tour on Saturday before the workshop started.
We spent a good bit of the time looking up,
and with our mouths open!

Part of the joy for me is seeing it reflected on the
faces of the people we bring.
Clearly, Janet is having an “Oh My” moment!

We couldn’t loose our leader in the crowd, wearing these bright yellow pants!

 at the Museo di San Marco

Above, Carol (right) takes the lead.

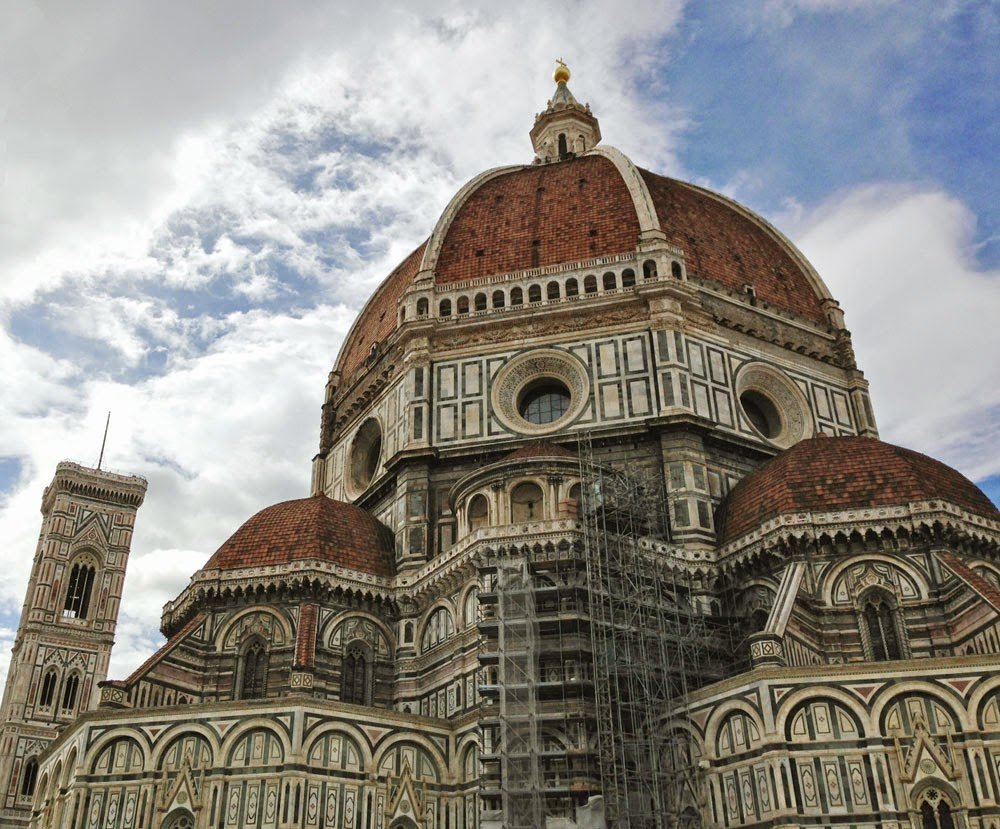
 It wouldn’t be Florence without the Duomo.

Trattoria Bordino

We stopped for lunch at a steak house across the Ponte Vecchio. The food was terrific and we taste tested their deserts. I think Linda expresses how satisfied we all felt when we left!

 
Mary Lee poses with me in front of the Ponte Vecchio


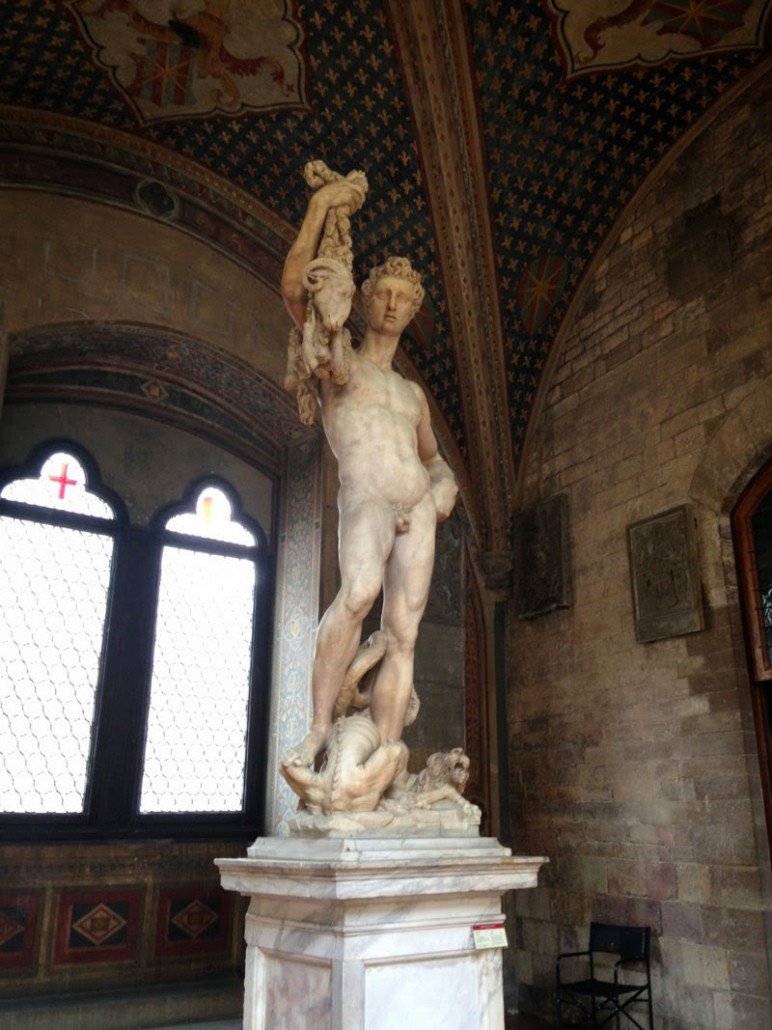
at the Bargello Museum


Below are Janet and Linda, to the right is Elvina, lost in a photo moment. 


Florence is full of characters

Parents wait while a portrait artist sketches their daughter…
Walking through street market, this dear girl was giving out free hugs. One side of her sign was in Italian, the other in English and she flipped it when she got a quizzical look!

These young men knew what we did not — that we were traveling with an Australian movie star, alias My Allred! They were convinced she was the real thing (and they are right, she IS sexy!)

It has been a whirlwind week…
First the WSO convention where I was given the people’s choice award for “Tranquility”!

Then Robert Burridge’s workshop Monday – Thursday.

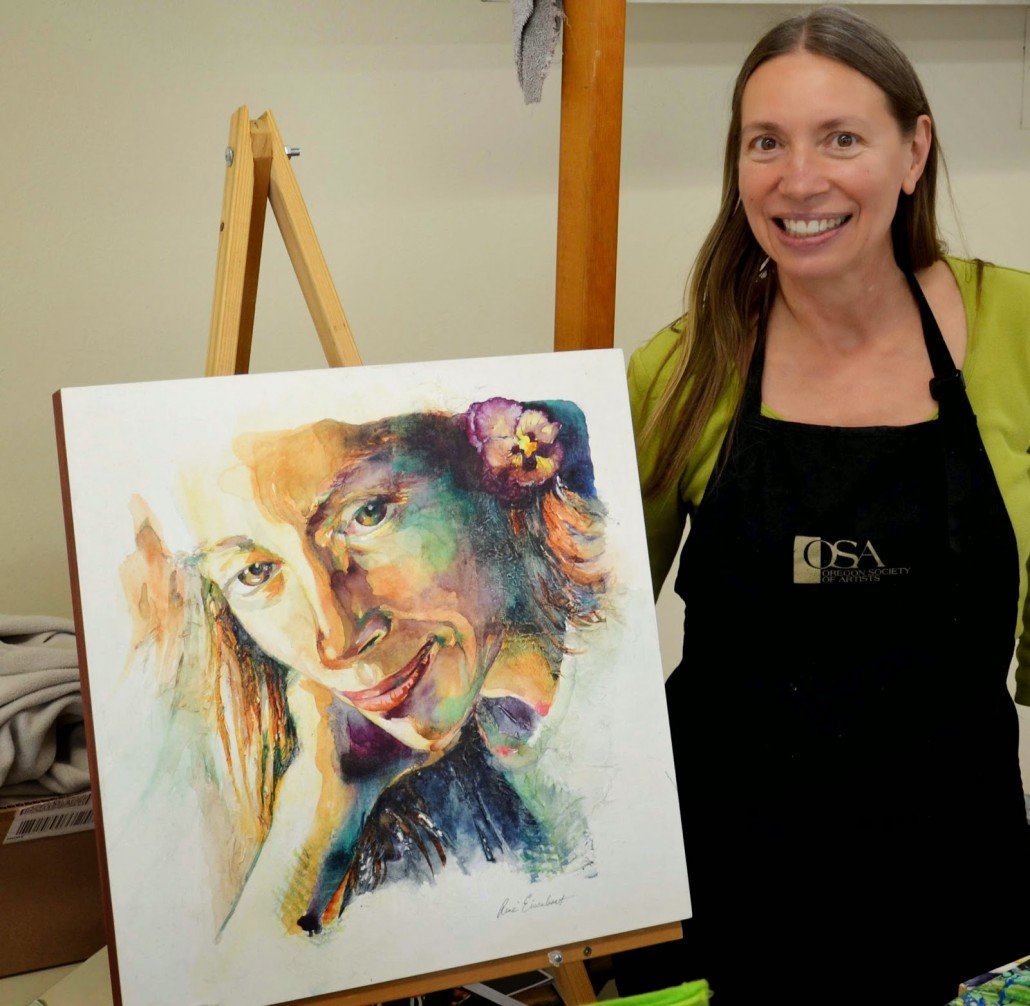
Followed by giving a one day workshop for Southwest Washington Watercolor Society on USING ACRYLIC MEDIUMS with watercolor… as in my self portrait piece, below.

.

First Burridge
I was lucky to get in — it was by lottery!
Here are the Bobers and Bobettes (as Bob’s lovely assistant, Kate, calls us)…

While working in acrylic was a stretch for this watercolor lover, Bob did not disappoint! He exudes fun. Maybe it’s his background as a magician or just his playful attitude — he genuinely enjoys teaching and his enthusiasm is catching.

We learned to paint drip trees… And carrot people… these are Bob’s examples.

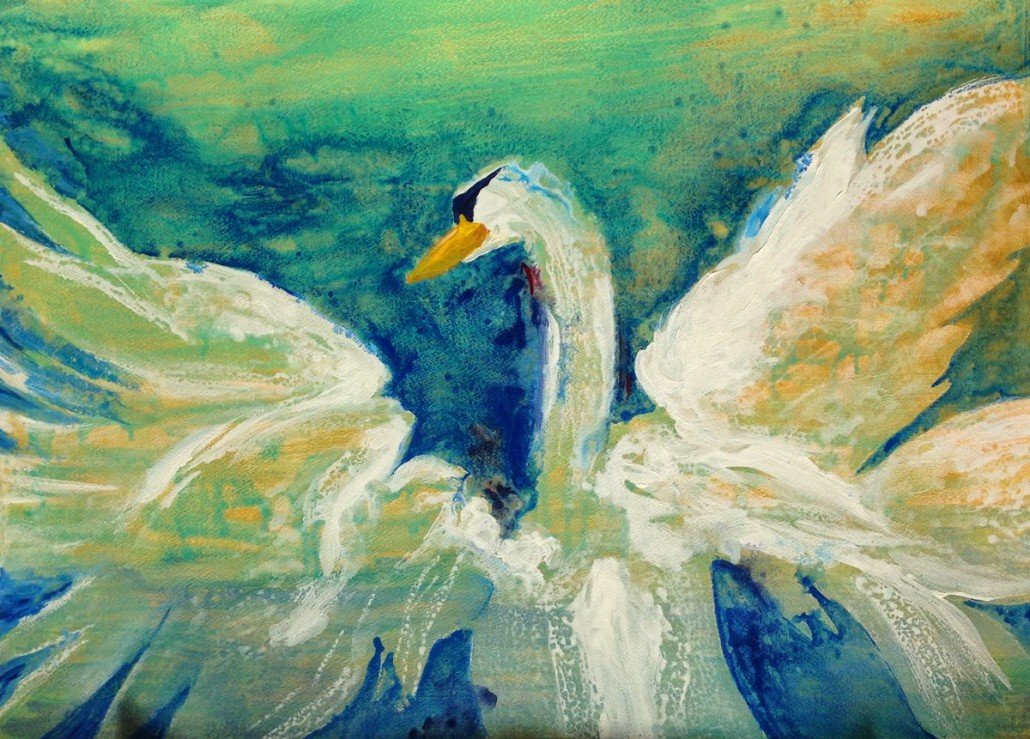
I wanted to do birds. Here are a couple of acrylic paintings in progress — loose by virtue of using lots of water. I used the new Golden FLOW medium to make it extra juicy.
Bob doesn’t draw first, but I do. Pencil doesn’t work over an acrylic background so I used a white Derwent Art Bar (water soluble crayon) to make a quick sketch.

I’m using negative painting over a background of gold gesso with an over layer of greenish paint — covering anything that is not the swan. It still needs some work.

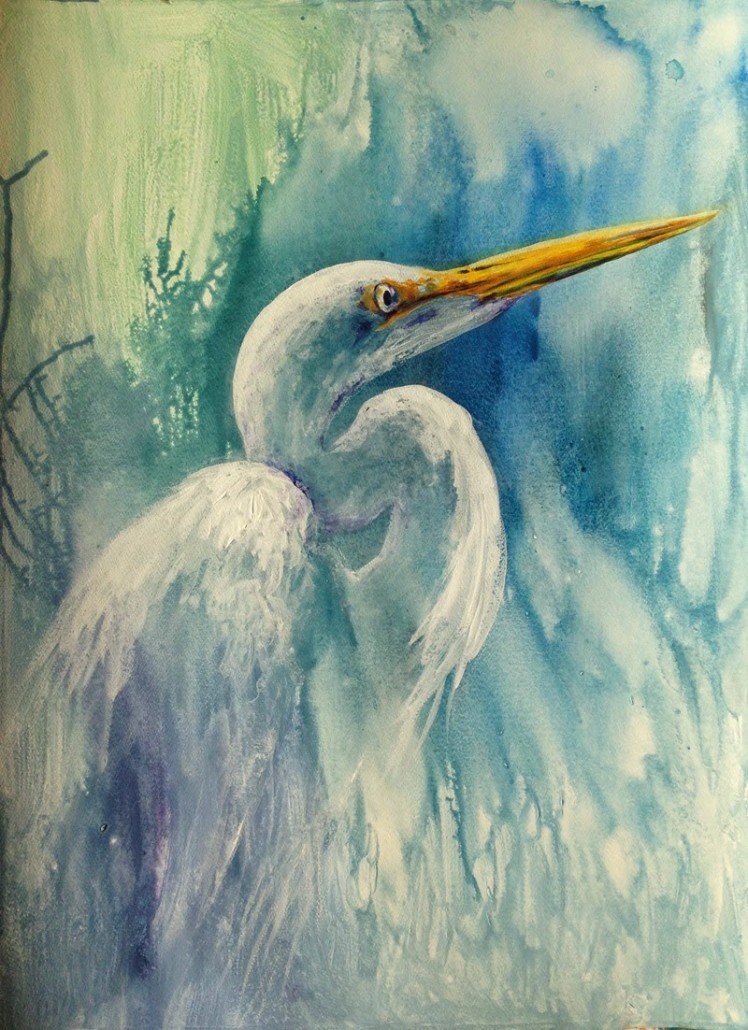
This heron appears out of the mist — I’m liking it pretty well as is.

———————————————

BEYOND WATERCOLOR: Acrylic Mediums


On Friday I went up to Vancouver to teach a workshop for Southwest Washington Watercolor Society. We had a blast!

We worked fast and covered a lot of territory. First we put watercolor paintings or paper on cradled panels, step-by-step.

Then we painted watercolor over matte medium to get textural effects.
I started this trillium painting at the workshop (left), drawing quickly with water soluble graphite. I’ve added another layer (right). The graphite bleeds into the paint when it gets wet, creating interesting effects.

Here’s Lynda working on a trillium. The matte medium makes the paper less absorbent and the paint tends to pool and make oodles of oozles. Sometimes I tilt the paper to direct the flow, propping up one side. Other times I allow it to do it’s own thing! Resist sopping up the puddles and be patient as the paint dries. Keep building up paint until the values are right.

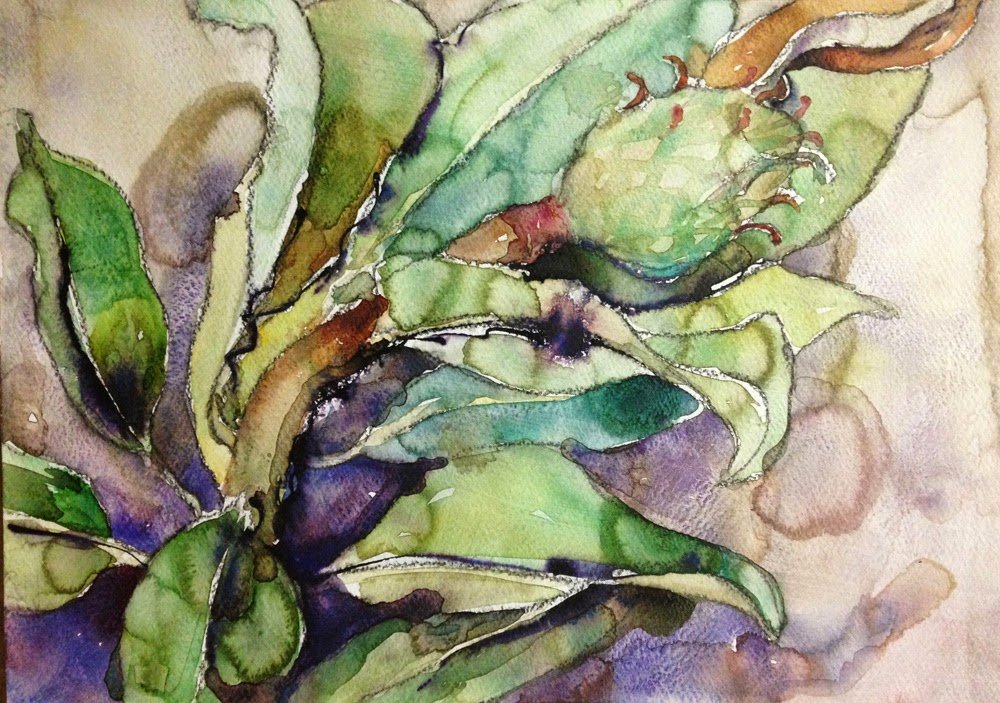
This magnolia pod is finished, after several layers plus scribbling over the top with my black mix, adding to the darks — blending with a spray of water.

What a sweet group… some said it was the best workshop they’d ever taken! I look forward to returning next spring.

14 of us spent 12 days at a retreat center in Kauai last February.
It was a remarkable time! This will give you a flavor of the trip…

We toured botanical gardens, visited art galleries, walked on the beach, cooked amazing meals and took scads of pictures.

AT THE BEACH

See, it didn’t rain the whole time… that’s Harriet with a sea treasure and Melody and Verna getting their feet wet at Hanalei, where Puff The Magic Dragon lives!

FARMERS MARKETS
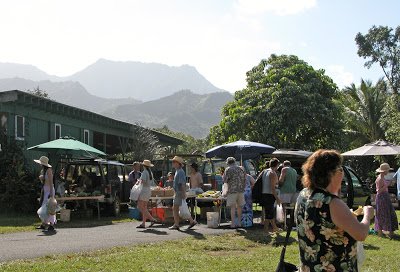
For both food and entertainment. We ate, we gawked, we took things home as reference material for painting! That’s Sharon, holding a large citrusy thing and breadfruit — perhaps more lovely to look at than to eat?

LIMAHULI BOTANICAL GARDEN
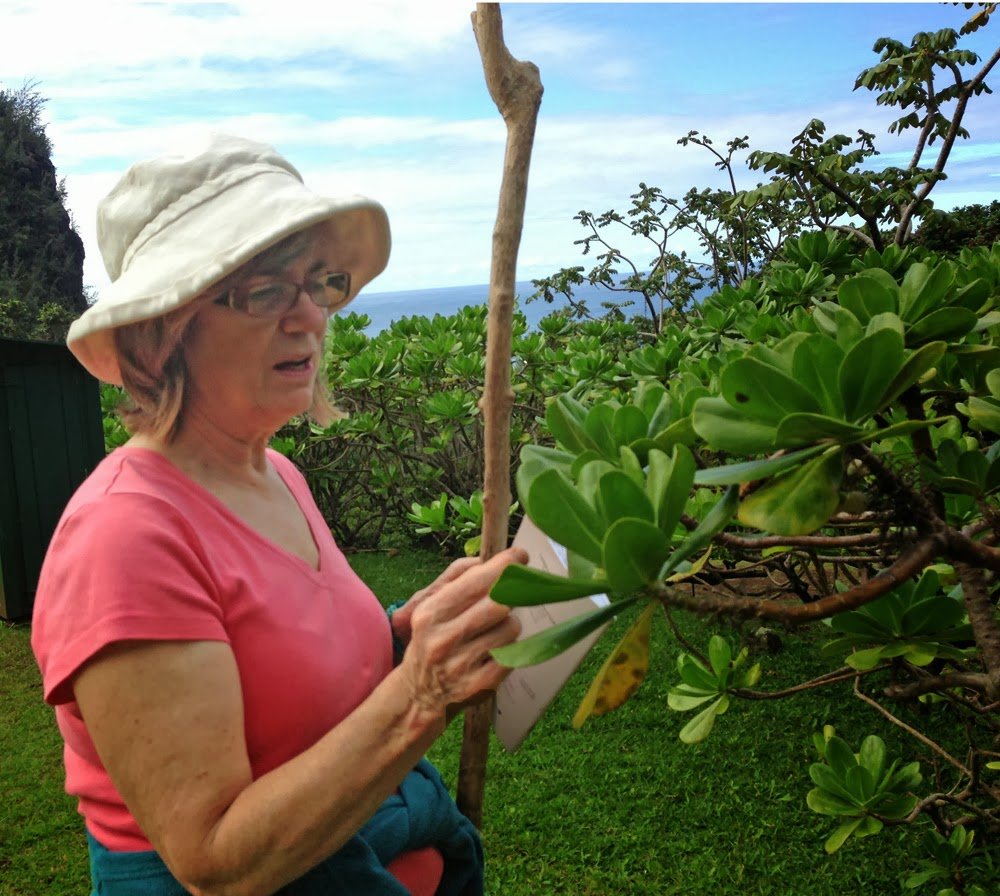
Specializes in native plants — and also labels the non-native invaders. The views from above were lovely! Here’s Peggy, referring to the handy plant guide.
SHRINE WALK
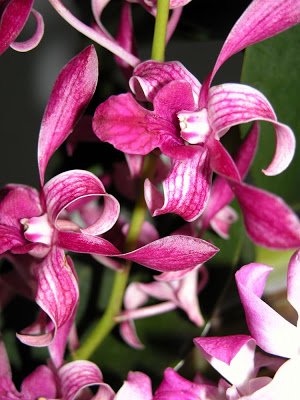
Fascinating cultural landmark cut into a hillside —plus home to hundreds of orchids! I took hundreds of photos.

BIRTHING CAVE
OK, that’s a myth, the Makauwahi Cave Reserve is just a sink hole, but it’s fascinating. We were lucky enough to be led on a tour by David Burney, who wrote a book about it, and could give us the real significance.

BOTANICAL CLASS
Janet connected us with an invitation to visit Wendy Hollender’s class at the National Tropical Botanical Garden’s Research Facility. She works in colored pencil to render fabulous botanicals. One of her students, hard at work on the left, and me at the garden’s visitor center.

WE TAUGHT AND PAINTED
Here I’m using water soluble graphite on a pineapple drawing. I found out that water soluble pencils without wood actually become soft when left out in wet weather! When it rained for several days solid, we brought our work indoors and kept on painting.
DANCING HULA
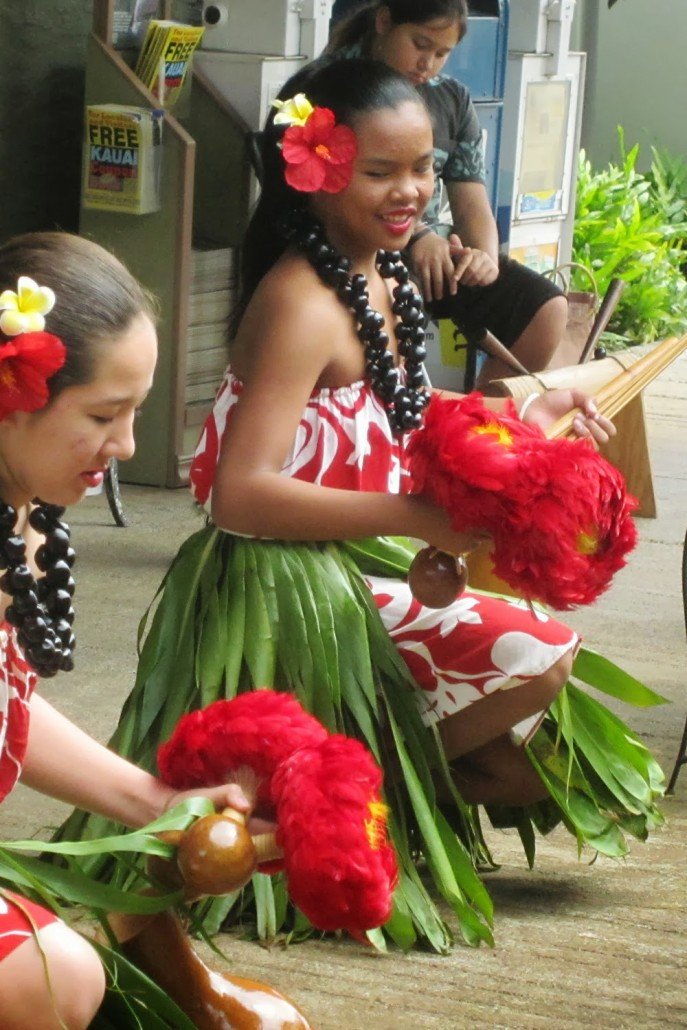
In a spirit of collaboration, we invited everyone to share their skills. Peggy taught us us how to dance Hula! Since I was dancing I don’t have a photo, but it was a great form of exercise. I do have this shot of dancers in Kapaa.

ROOSTER DEMO
Pouring a colorful wash for an under layer on my rooster painting. I’m using 300 pound arches paper treated with acrylic medium. And the finished painting…

NEGATIVE PAINTING DEMO
Linda shows how she does it on this hibiscus blossom, started as a poured wash. It was so much fun tag teaming with Linda, as we could move back and forth, teaching different concepts. She also led us in stamping, which was so successful it merits it’s own blog post!

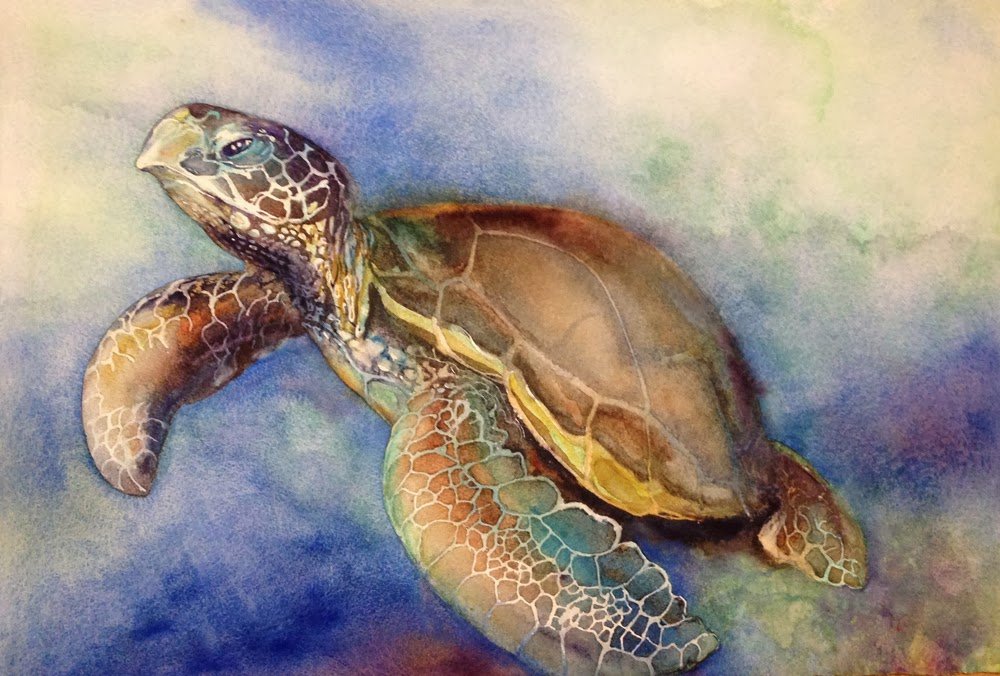
SOME OF US SWAM WITH SEA TURTLES!
This painting is still unfinished, but I like what’s happening so far. While I rarely do, I used resist to make the light lines, using a plastic bottle with a wire stem as an applicator.

ZENTANGLE
Sharon introduced us to the ways of the formal doodle. Notice the breadfruit pattern on the right? It was fun to see the variety of drawings that resulted.

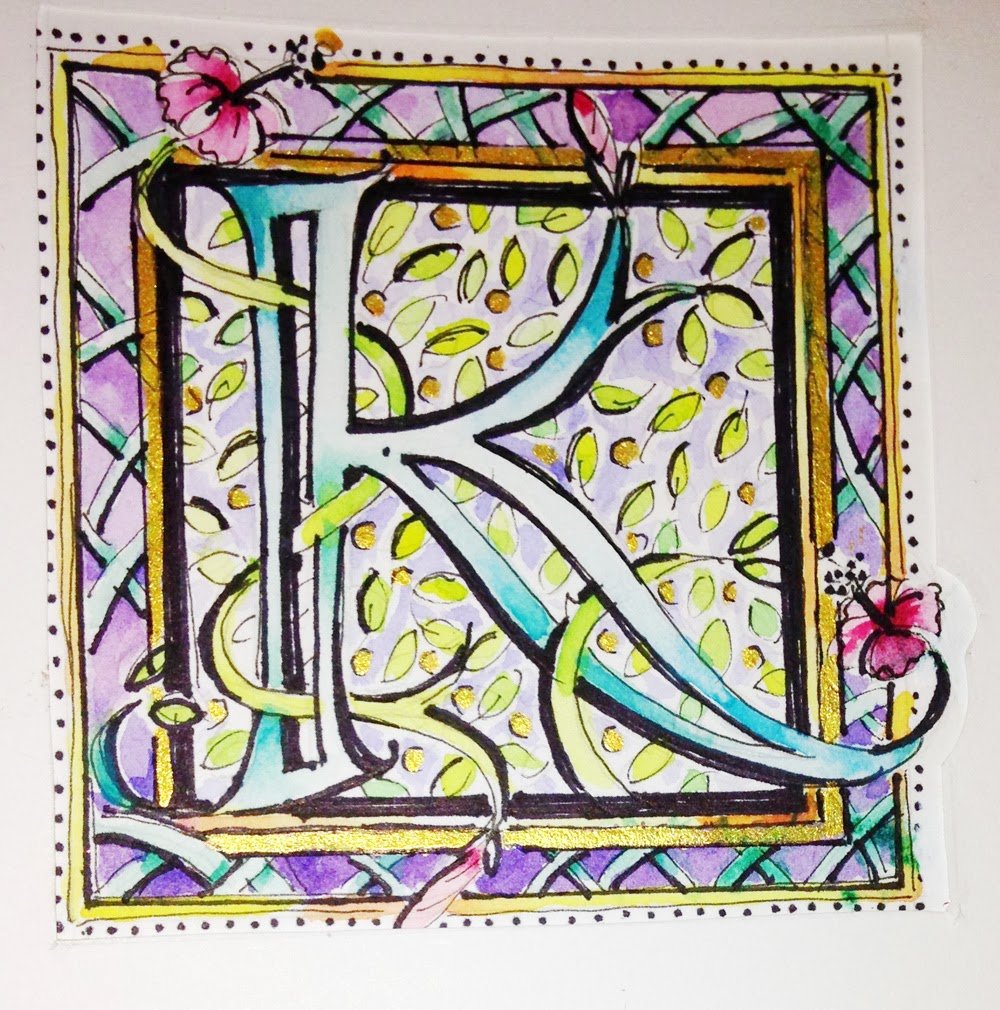
ILLUMINATED LETTERS
Laura prepared a step-by-step to show how she makes them.
GALLERY HOPPING AT HANAPEPE
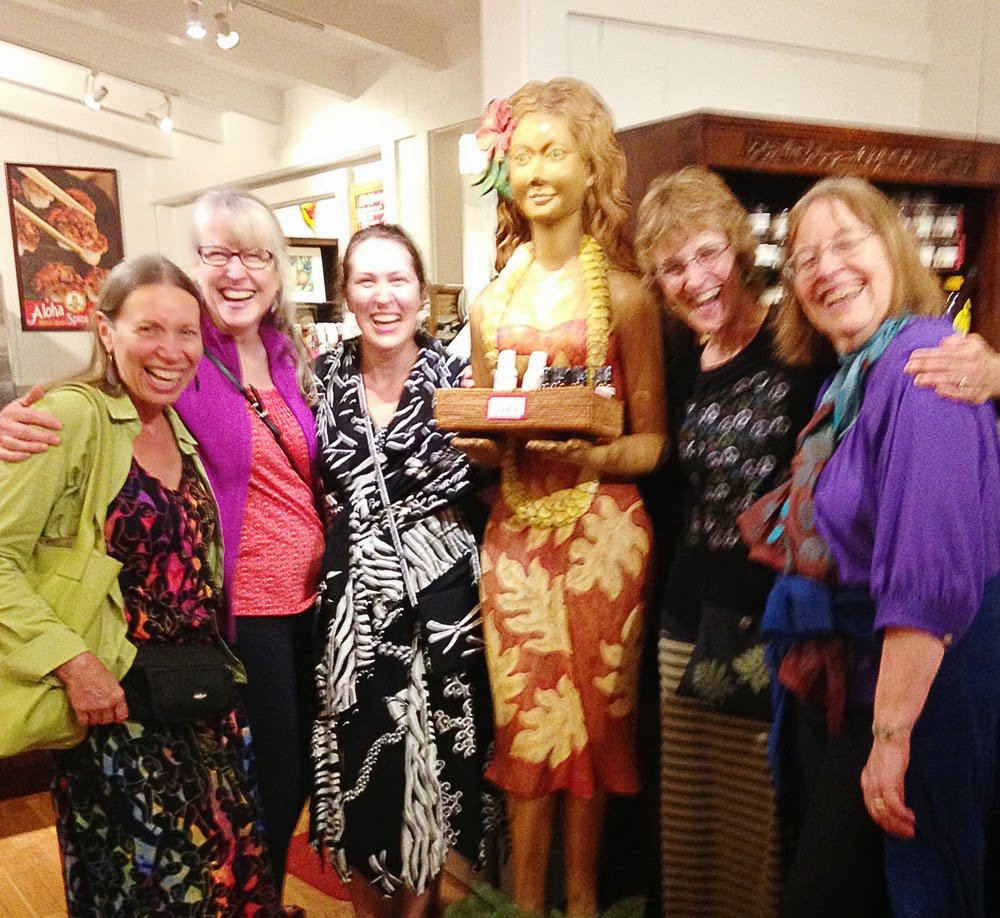
A photo op — 5 of us with the cigar lady at the spice shop!
 

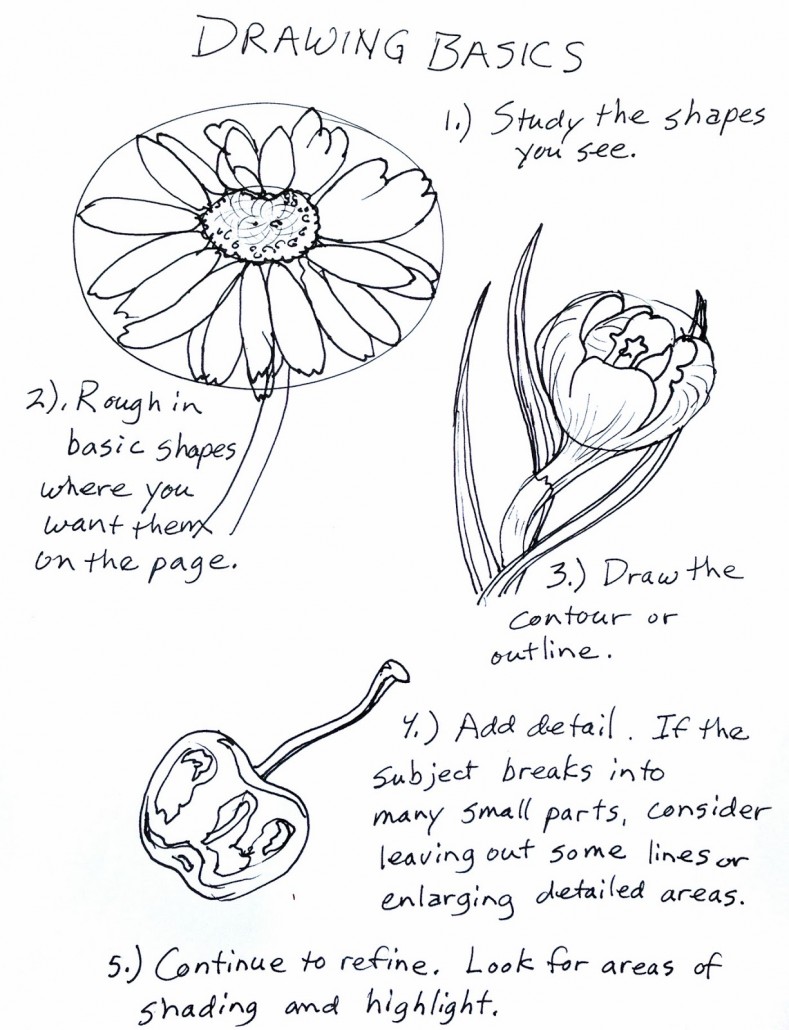
Last week I taught the drawing portion of my 5-week class. Many students are just beginning to draw.

Here are visuals to to help you learn the process…

BASICS:

The first decision is where to place the drawing on your page. Lightly draw a very basic shape, or outline, on your page and you won’t just be leaving the placement up to chance. For the daisy below, I drew two ovals, one defining the outside shape and one defining the flower center. Notice that outside oval is merely a guide, and many of the petals fall short of the perimeter while some might reach outside. The center oval is actually placed above true center, which allows the petals closest to the viewer to be longer.

FIND THE SKELETON:

Plants tend to be organized in patterns, and when you can make sense of the pattern you can draw them. Generally, a good place to start is with the structure — that which connects or holds up the subject. Look for specifics — for where leaves connect to stems, numbers of petals, jagged or smooth edges, petals arranged in a circle, curves or cupped forms.
Look for what is “the rule” and also for exceptions to it.

SET YOUR DIRECTION:

First I drew the axis line. That line determines the curve of the tropical plant in the top drawing or the echinacea in the lower drawings. For the echinacea, the axis line became one side of the stem. Then I drew in the circle for the cone. Curved, spiral lines going both directions across the cone cover the upper part of the axis line. The petals are also drawn over what is already there. Notice with the tropical that while I drew the box first, I did not squeeze the drawing into it but instead allowed it to spill out over the box. It just worked out that way.

CONTROL vs. CREATIVITY:

Drawing quickly often allows for more expressiveness. These quickly made drawings are not intended to be “perfect”. I can always refine later — to make them either more expressive or more precise. Focusing on making a drawing too perfect can squeeze the life right out of it 🙂 Drawing is a dance between seeing the “big picture” and noticing the details. There’s no one right way to do it! If you’re working toward being more accurate, yes, that will take some thought. So pause long enough to know where you’re headed, then let go and trust your arm to get you there.

DIVIDE AND CONQUER:

For advanced drawing… more complex shapes simply take a bit longer to understand. Sometimes it’s just a matter of learning the curves and shapes at a particular angle of view. A 5-petaled flower still follows a logical pattern even when viewed from the side. Make sense of a complex shape by dividing it into sections. Some fern fronds will repeat the same patterns on a different scale as you follow up the stem!

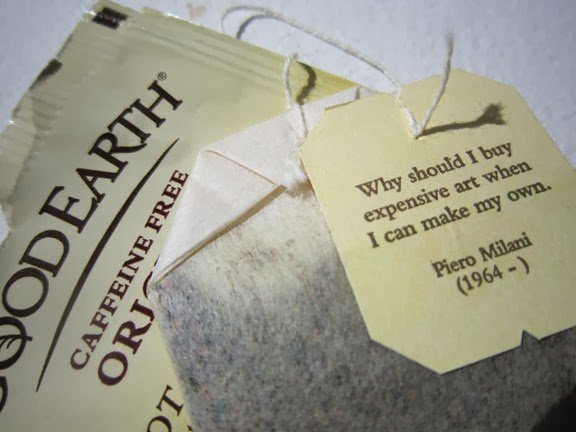
GOOD EARTH original tea — the one with cinnamon — is my very favorite. When it’s fresh there’s nothing better in the morning for someone who cannot drink caffeine! A few years ago, this bit of tea bag wisdom struck my fancy…

“WHY SHOULD I BUY EXPENSIVE ART WHEN I CAN MAKE MY OWN”
         — Piero Milani, (an artist born in Italy who is perhaps most famous for this quote)

As an artist wanting to sell my work, I’m not overjoyed by the concept…
But I understand Piero’s thinking. My collection is only budding. Hopefully, over time, it will contain more art that others have made. Why? Because it brings me joy! 

Here’s a painting I bought from my son, Dane. It’s bound to be a great investment! Check out Dane’s web site for more examples of his art.

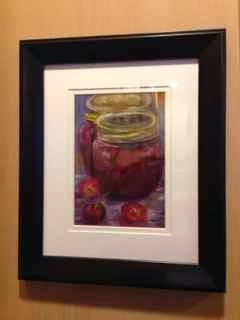
The graphite pieces above my kitchen window, made by Vic Thomas, a favorite art instructor READ ABOUT THEM. Artwork by my sons. And this piece by my friend Susan Gorrie, “René’s Tuscan Cherry Jam” which was inspired by our Italy trip last May. Yes, I did climb the tree to pick the cherries! It means so much to me.

Fortunately, there are people who value art and are willing to invest in it!
You might enjoy this piece from local art writer Duane Snider about collecting art in Portland

“I thought I couldn’t afford fine art. I needed justification for spending that much money on an object of such subjective value. I feared I didn’t have the knowledge or experience to make good judgments about what I wanted. I felt intimidated by the abstract nature of what constituted quality art.”

And this, from his second essay:

“In Portland, unlike in larger cities, one doesn’t need lots of money to afford a very nice personal collection. Local galleries do a good job making art accessible to anyone who has even modest amounts of disposable income. Many local galleries have liberal layaway policies that help new customers start collecting.
In recent years galleries have been opening outside the traditional art districts with a focus on quality work by emerging artists generally priced under $1,000 – with many works from $100 to $500. This profusion of affordable art is the element that makes the Portland market irresistible to the experienced collector and surprisingly accommodating to the novice.”


WISHING YOU ALL THE BEST for the NEW YEAR!!!!

Now is a good time to reflect on the past year… and what a trip it has been! Here are a few highlights.
I came out with a line of 14 greeting cards

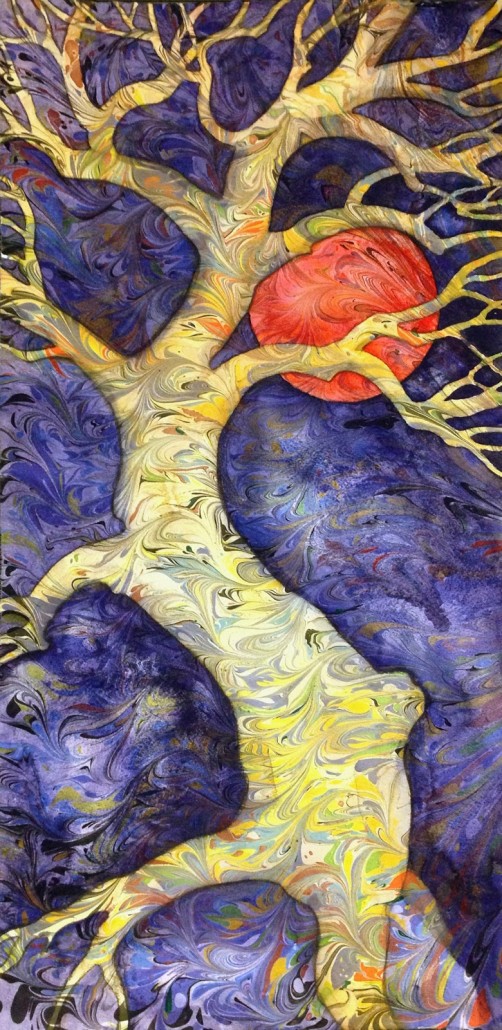
Just added this holiday greeting — I marbled over a caribou (below)! The original painting will hang in January’s Gallery show at Oregon Society of Artists.

The May trip to Italy was wonderful! So much so that Linda Nye and I are returning with Janet Parker from Oregon Botanical Artists and another workshop group to the same incredible location outside Lucca. See a journal from the first trip here (CLICK).


Tuscan Persimmons (below) was painted after my very first trip to Italy and I was inspired to marble over the top after my last trip. It has been showing at Village Gallery.

The painting that hung in the spring WSO show, Raven Dreams (CLICK), also was chosen for the National Watercolor Society show.

Meanwhile, juror Linda Doll chose Judy In The Spotlight (above) for the fall WSO show in Bandon.

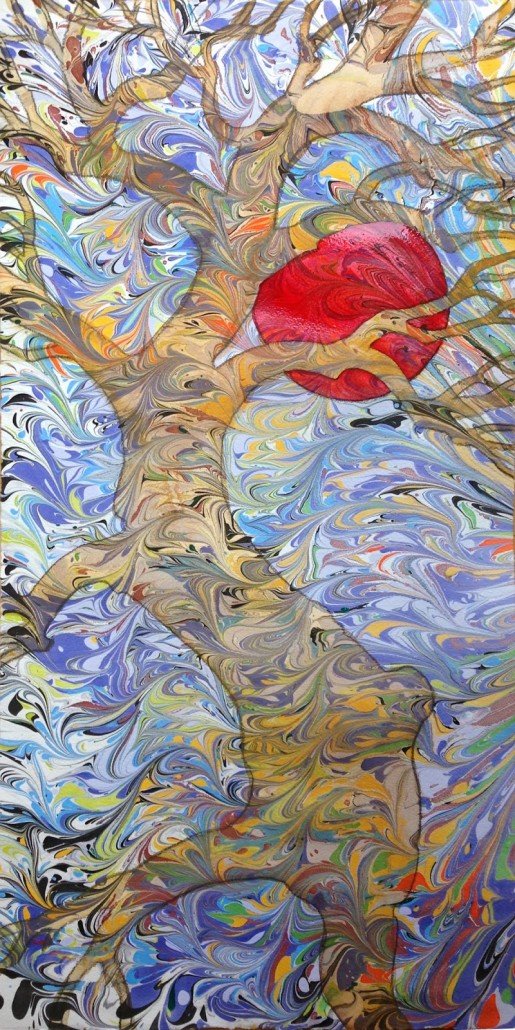
The days are getting longer! In honor of the solstice, I’ve made this painting.
Here’s how…

You will need:
Basic watercolor paints…
      yellow ochre, terra rosa, pyrrol red, ultramarine blue, alizarin crimson
Black sharpie marker (fine point)
Tracing paper
CretaColor water soluble pencil — black
Light table (or bright window)
Sheet of marbled watercolor paper

What, you don’t have marbled watercolor paper? I can help with that!

I’ll be teaching marbling in 2014
… in a weeklong workshop at MENUCHA
    August 3-9 (workshop has filled)
… or a MARBLING workshop at OSA
    August 21 – 23 (Thurs – Sat)

First, on a sheet of tracing paper placed over the marbled paper, sketch a tree silhouette, outline only. Then draw over the outline with sharpie marker to darken.

Tape the outline on the back side of your marbled paper and put it on a light table (below).

Use the water soluble pencil to draw your tree outline on the marbled paper.

TREE
Make a wash of yellow ochre mixed with terra rosa or ultramarine to get the color variation you want and paint the tree. No problem if you go over the line a bit. Note the intensity or opacity of your paint, and add more water to make it more transparent or more pigment to make it more opaque. Let it dry.

SUN
Make a circle on a tissue the size you want the sun to be. Put it on the light table and move it through the branches until you find the right place for it. Draw an outline on the marbled paper but only between the branches, not over them.

Paint the sun with pyrrol red, adding yellow ochre if you want to tone it down. Layer more paint along the tree edges to create more dimensionality.

BACKGROUND
Mix ultramarine (4 parts) to alizarin (2 parts) to yellow ochre (1 part or less?) add water and use this to paint the background. Make sure you mix more than what you’ll need. I like to store this purple/black mix in a bottle that I can squirt on my palette, or sometimes right onto a painting. Add extra water if it doesn’t let enough of the marbled pattern show through.

As you paint the background, cover the CretaColor pencil lines. The pencil will bleed into the paint a bit, but will leave a crisp edge.

And that’s all there is to it!

Winter Solstice Chant
By Annie Finch 
Vines, leaves, roots of darkness, growing,
now you are uncurled and cover our eyes
with the edge of winter sky
leaning over us in icy stars.
Vines, leaves, roots of darkness, growing,
come with your seasons, your fullness, your end.

A recap of the National Watercolor Society’s 
93rd International Exhibition, in San Pedro, CA.
The jurors …
Kathleen Conover, Gerald Brommer and Dean Mitchell
Besides myself, with (RAVEN DREAMS)
the other two Oregon painters in the show are
Dyanne Locati

and Geoffrey McCormack (who I enjoyed flying with).

Myrna Wacknov, with this portrait of her husband

And here is the lovely Linda Doll, awarding me signature membership to NWS.
A very sweet moment!
One of the best parts of going to a show like this is meeting artists from near and far. 
For me there were many new faces.
I particularly enjoyed Penny Hill, who is as charming in person as on the phone.
Here she is skyping the event.

I met Nancy Swan who puts together the newsletter (her photos are borrowed here)
and Valli McDougle who called to confirm the size of my painting.
Also artist, Stan Kurth, who was suggested as a future WSO juror.
And Ying, (with me at Friday’s meet & greet)…

… She was here to represent her father, Xiao Xing Hu, who couldn’t come
over from China for the event. Here’s Ying with her dad’s painting.

You still have through January 11th to see the show!

I feel very lucky!
I’m taking a portrait workshop with Lynn Powers, an amazing artist and skillful teacher. Perhaps she absorbed some of her skill growing up with mom, artist Jan Kuntz, or producing art videos with Creative Catalyst. Lynn has definitely found her own unique voice and it is fascinating to work with her.


Here’s a recent portrait of hers…
A WOMAN OF COLOR

See more of Lynn’s work at Gallery Calapooia in Albany.


Or, Lynn’s WEB SITE


Lynn said I could share the homework assignment from the first day of class.


A. CHOOSE THREE OF MY PAINTINGS THAT I LOVE.
They can be any subject or style.

I used these three:

 
B. NAME THREE ELEMENTS OR PRINCIPALS OF DESIGN THAT ARE BASIC TO THE PAINTINGS.
Analyze them and be specific. This will help in discovering what is driving your work.

Here are mine..
1. PATTERNING: Sometimes intricately painted, sometimes marbled — all my favorite paintings have repetitive shapes that give texture to my work.

2. COLOR: I love the play of warm to cool color, often using invented or exaggerated color. Notice the predominant use of the secondary color palette.

3. VALUE (Light/Shadow): Pushing the value range is something I’ve worked on, using subjects that are lit to create shapes in the highlights and shadows.

C. WHAT IS IT I WANT FROM MY ART, OR TO COMMUNICATE WITH MY ART?

This required a bit of pondering.

I want my work to be unique and distinctive — to convey my own personal vision — to interpret and not simply record.

I want to playfully weave looseness into the rendering of my subjects.

I want my art to have ambiguity and mystery — to leave something to the imagination or elicit questions in the viewer.

I want it to be evocative — to move others.

So I was pretty happy with these thoughts. Never before have I had such a clear “MISSION STATEMENT” of what I want to achieve in my work.

Talking it over with my husband over breakfast, he said I should add just one thing…
            a subliminal message, imparting an unconscious desire to buy the art!
Hey, why not?

In anticipation of taking a group of artists to Kauai in February for an Art Workshop / Retreat, I’m posting memories from about 10 years ago…

          …
It turned out to be perfect timing for a winter getaway. One day I was shoveling a six-inch blanket of ice from my Portland driveway, the next day snorkeling with Nemo along the reefs of Moloaa Bay, on the island of Kauai. Multitudes of colorful fish fluttered by with each swell. Enchanting!


Kauai is a tropical retreat — endless walks along nearly deserted beaches; palm fronds gently playing the breeze; cerulean seas. 

And the food… 
Sharing a beach house with family and friends, we pampered ourselves with papaya every morning, spooning it right out of the shell. Colorful local merchants and fragrant fresh flowers make farmer’s markets worthwhile, even for those who don’t cook.

They’re in a different town each day. Customers often arrive early to survey the booty, but they can’t buy till the starting bell rings. We hit the markets regularly for tangy tropical fruit, football-sized avocados, locally grown organic veggies and colorful flowers such as these orchids.


Beyond pineapple, fresh fruit ranges from bizarre to exotic, including…

Passion fruit (nectar of the gods)
Soursop (imagine sucking tasty, refreshing juice from pulp the texture of cat hair)
Pomelo (a grapefruit on steroids, larger and firmer fleshed)
Rambutan (firm white flesh clothed in a husk of soft red spines) 
Guava (a seedy, sweet ball of nectar).

Tossing feathers of brilliantly iridescent phthalo blue and quinacridone rust, roosters strut literally everywhere. 
Chickens are protected on Kauai. They’re a blessing if you like rising early to hunt seashells — 
     take ear plugs to sleep in.


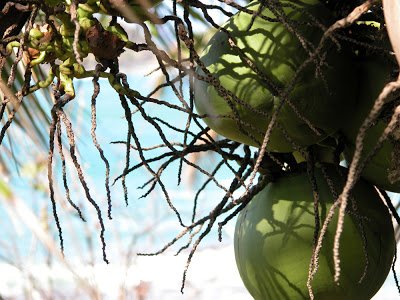
Did I mention the storm? Our electricity was out for two days. But on the plus side, gale winds knocked down coconuts for the gathering. To sample, choose green-husked orbs that are full of fluid when you shake them. Peel off the husk and puncture the holes so you can pour out the milk before breaking the shell to expose the meat. Fresh! We packed three coconuts in a carry-on box to bring home. You can also mail them to yourself in the husk, no box needed. Write your address in permanent marker and attach the appropriate postage. 


The days passed quickly, as good times often do. But I’ll still have shells to fondle, memories to savor and pictures to paint upon return.
……….

Talk to me if you are interested in going, February 5 – 17, 2014.
You can download the brochure HERE for the specifics.